“`html
How to Design and Assemble a Wooden Dining Table
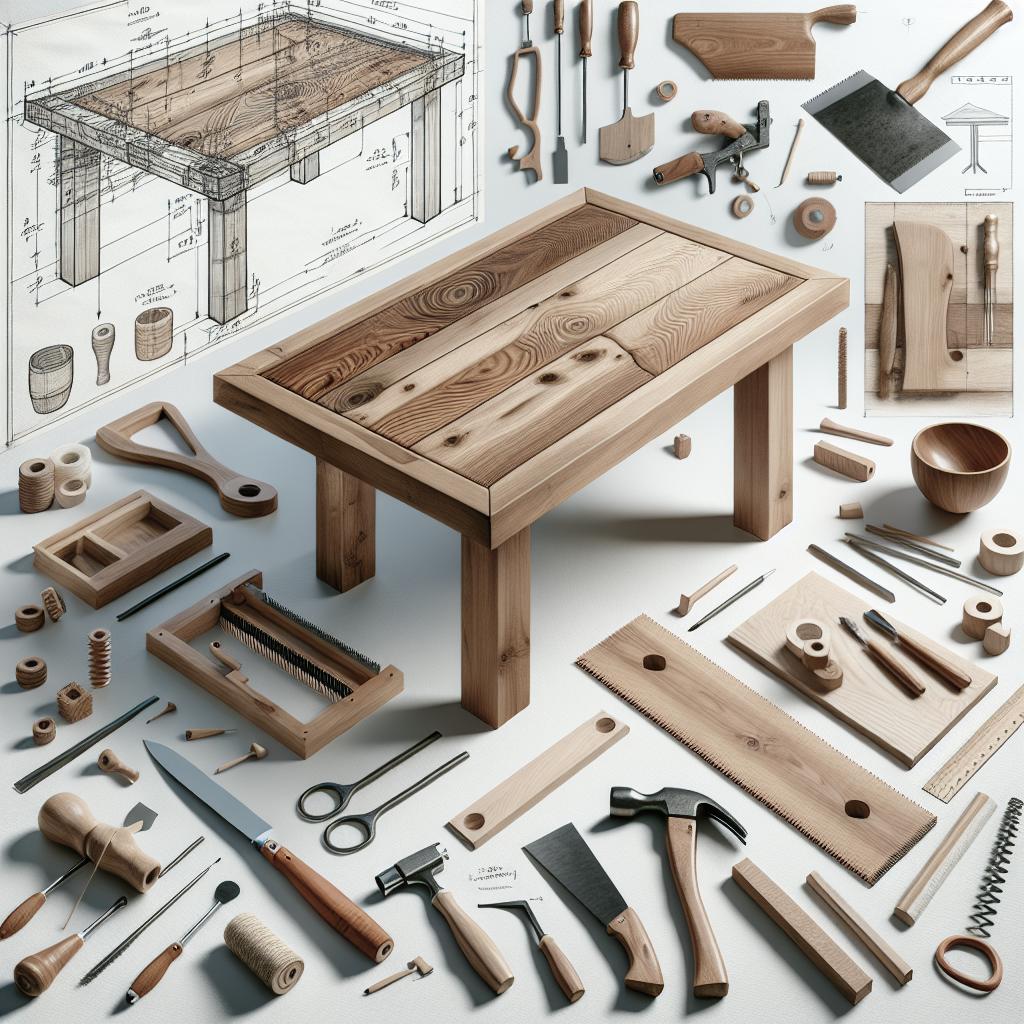
Designing and assembling your own wooden dining table can be a rewarding experience that enhances your woodworking skills and adds a personal touch to your dining room. This guide will take you through the detailed process, from gathering the necessary tools and materials to the final assembly and finishing of your table. With careful planning and execution, you’ll have a stunning, functional piece that showcases your craftsmanship. Along the way, you will understand various design considerations such as lumber choices, table sizing, and optional design elements. This post is structured to guide both novice and experienced woodworkers in creating a modern dining table of their own, and it includes helpful resources for additional information.
Tools and Materials:
Before embarking on building your dining table, gather the essential tools and materials. You’ll need basic woodworking tools like a saw, drill, clamps, sander, and chisels. Safety equipment such as goggles and gloves are also recommended. For materials, select your choice of lumber which could range from oak to walnut, depending on your desired aesthetic and budget.
Additionally, you will need wood glue, screws, and finish options like polyurethane or varnish. Having all your tools and materials ready ensures a smoother workflow without unnecessary interruptions. Remember, the quality of your tools and materials can significantly influence the final outcome of your dining table project.
Some Notes About the Modern Dining Table Build:
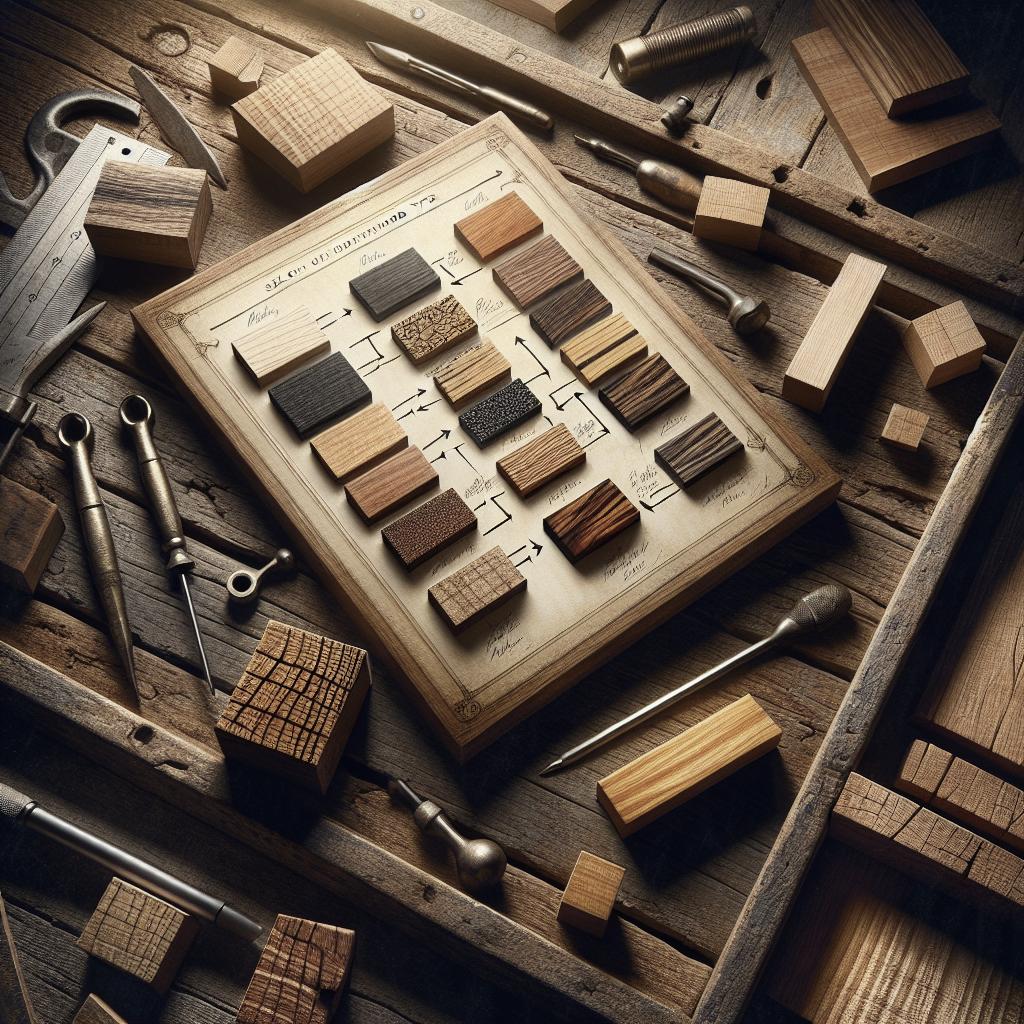
Lumber Choices:
Choosing the right lumber is a critical step in building your dining table. Hardwoods such as oak, maple, and walnut are popular choices due to their durability and attractive grain patterns. Each type of wood brings its unique texture and color to your table, allowing you to customize it according to your style preferences.
When selecting lumber, consider the environment where the table will be used. For instance, if your dining area receives plenty of sunlight, you might want to opt for woods that are more resistant to fading. It’s also crucial to check that the lumber is properly kiln-dried to prevent warping and ensure stability over time.
Table Sizing:
Determining the correct size for your dining table is based on the space available and the number of people you intend to accommodate. Consider the dimensions of your dining room and leave sufficient space around the table for comfortable movement. A standard dining table is about 30 inches high, with a width varying depending on the seating capacity.
For a rectangular table, common dimensions range from 60 to 90 inches in length and 36 to 42 inches in width. Be mindful of how the table’s size relates to the room’s proportions; a table too large might overwhelm the space, while a table too small could look out of place.
Table Top Boards:
The tabletop constitutes the main surface of your dining table, and selecting the right boards is crucial for durability and appearance. Ideally, choose thick, wide boards, as these will create a solid and stable top. Arrange them aesthetically to take advantage of the wood grain and patterns.
Consider the final appearance when planning the board layout, including the direction of the grain and any special features like knots. Assembling the tabletop requires precision to ensure a flat and even surface, setting the groundwork for the rest of the build.
Leg Size:
The size and shape of the table legs contribute significantly to the overall style and stability of your dining table. Common leg dimensions are 29 inches in height to account for a standard table height. You can opt for traditional straight legs or more adventurous designs depending on your aesthetic goals.
Ensure your leg choice complements your overall table design and provides adequate support to prevent wobbling. If you’re choosing a thicker table top, consider proportionately larger legs to maintain a balanced look.
Some links you may find helpful in the building process:
Throughout this blog, you’ll find various links and resources that can help you with specific steps of the table-building process. These may include video tutorials, detailed diagrams, and forums where you can seek advice or share your progress with other woodworking enthusiasts. By utilizing these resources, you can solve issues that arise and expand your understanding of woodworking.
Step 1: Determine Your Dining Table Size
Start by measuring the space in which you intend to place the dining table. Consideration must be given to both the room’s dimensions and the flow of traffic around the table. Calculate how many people will regularly dine at the table to determine the appropriate size.
Use a chalk outline or painter’s tape to visualize the table’s dimensions in the room, ensuring adequate space for chairs and walking paths. This step is crucial for creating a functional table that comfortably fits your dining space.
Step 2: Glue Up Dining Table Top
Once you’ve determined the tabletop dimensions, it’s time to glue the boards together. Arrange the boards so that the most attractive sides face upward and the grain patterns complement each other. Apply wood glue between the boards, then use clamps to hold them firmly in place.
Allow the glued boards to dry for at least 24 hours to ensure a strong bond. Double-check that the tabletop is flat and even before moving on to the next steps in assembly. A solid tabletop forms the foundation of a sturdy dining table.
Step 3: Assemble Dining Table Legs
Cut (Optional) Rabbet for Table Apron
If your design includes an apron, cutting a rabbet is optional but can add a finished look to your assembly. A rabbet involves creating a groove along the inner edges of the table legs to hold the apron securely.
Use a router to create clean, consistently sized rabbet cuts. This step requires precision to ensure the apron fits snugly and aligns correctly with the table legs. An apron provides additional stability to the table structure.
Glue Table Legs Together
With or without the rabbet cuts, the next step is to glue the table legs. Apply wood glue at the joints, ensuring even coverage, then clamp them together for a secure bond. The glue should set for at least 24 hours before any further handling.
Consider reinforcing the joints with dowels or screws for extra strength, especially if the table is intended for heavy use. A stable leg assembly is critical for the durability and practicality of the finished dining table.
Step 4: Trim and Prep the Table Top
After the glued tabletop has fully set, it’s time to trim and sand it to the desired dimensions. Use a circular saw or table saw to cut excess wood at the edges, ensuring a precise, straight finish. Sand the surface until smooth, starting with coarse-grit sandpaper and progressing to finer grits for a polished finish.
Prepping the tabletop includes eliminating any imperfections or rough edges that may have formed during the gluing process. This preparation is essential for applying any finish and contributes to the table’s overall aesthetic appeal.
Step 5: Assemble DIY Modern Dining Table Apron
The table apron connects the legs to the tabletop and reinforces the table’s structure. Use the dimensions of your leg settings to cut apron pieces from sturdy lumber, typically matching the wood used for the table legs. Ensure the pieces fit precisely between the legs.
Position the apron flush with the inner edges of the legs and use brackets or wood screws to attach it securely. An effectively installed apron not only adds to the table’s aesthetic but also improves its structural integrity, preventing wobble and extending the table’s lifespan.
Step 6: Attach Apron to Dining Table Legs
With your apron assembled, carefully attach it to the dining table legs. Use brackets or corner blocks to ensure a strong connection. If you’ve chosen to include rabbet joints, the apron should snugly fit within the grooves.
This step requires careful alignment to ensure that the legs stand perpendicular to the floor and maintain a stable and balanced table base. Once secured, the final table base is ready to support the table top.
Step 7: Finish Table As Desired
Now comes the opportunity to personalize your dining table with a finish of your choice. Options include staining, painting, or using a clear finish to highlight the wood’s natural beauty. Ensure each coating is applied evenly and allow adequate drying time between layers.
The finish not only beautifies but protects the wood from moisture, stains, and daily wear and tear. Follow manufacturer instructions on application techniques to achieve a professional-quality finish over your tabletop and base components.
Step 8: Attach Table Top to Table Base
The final assembly step involves attaching the tabletop to the completed base. Position the table base centrally under the tabletop, ensuring even overhang on all sides. Secure the tabletop using screws driven through the apron into the tabletop.
Use brackets or specialized tabletop fasteners where necessary to accommodate wood movement while maintaining a secure fit. Your newly assembled dining table is now ready to grace your dining space, a testament to your patience and skill.
Related Posts
Explore our related posts for inspiration on styling your new dining table, selecting the right chairs, and incorporating complementary furniture pieces in your dining space. These additional resources provide valuable insights on interior design and care for your crafted wooden table.
Next Steps
| Step | Description |
|---|---|
| Gather Tools and Materials | Collect necessary woodworking tools, lumber, and finishing supplies. |
| Determine Table Dimensions | Measure your dining space and plan the table size for comfort and utility. |
| Glue Table Top | Assemble and glue boards to create a solid tabletop surface. |
| Assemble Table Legs | Prepare and glue together the table legs, ensuring a stable structure. |
| Prep and Trim Table Top | Trim excess wood and sand the tabletop for a smooth finish. |
| Build and Attach Apron | Create a table apron to connect legs and support the tabletop. |
| Finish Table | Apply your choice of finish for protection and aesthetic appeal. |
| Attach Top to Base | Securely fasten the tabletop to the assembled base for completion. |
“`