“`html
How to Enhance Wood Projects with Pyrography
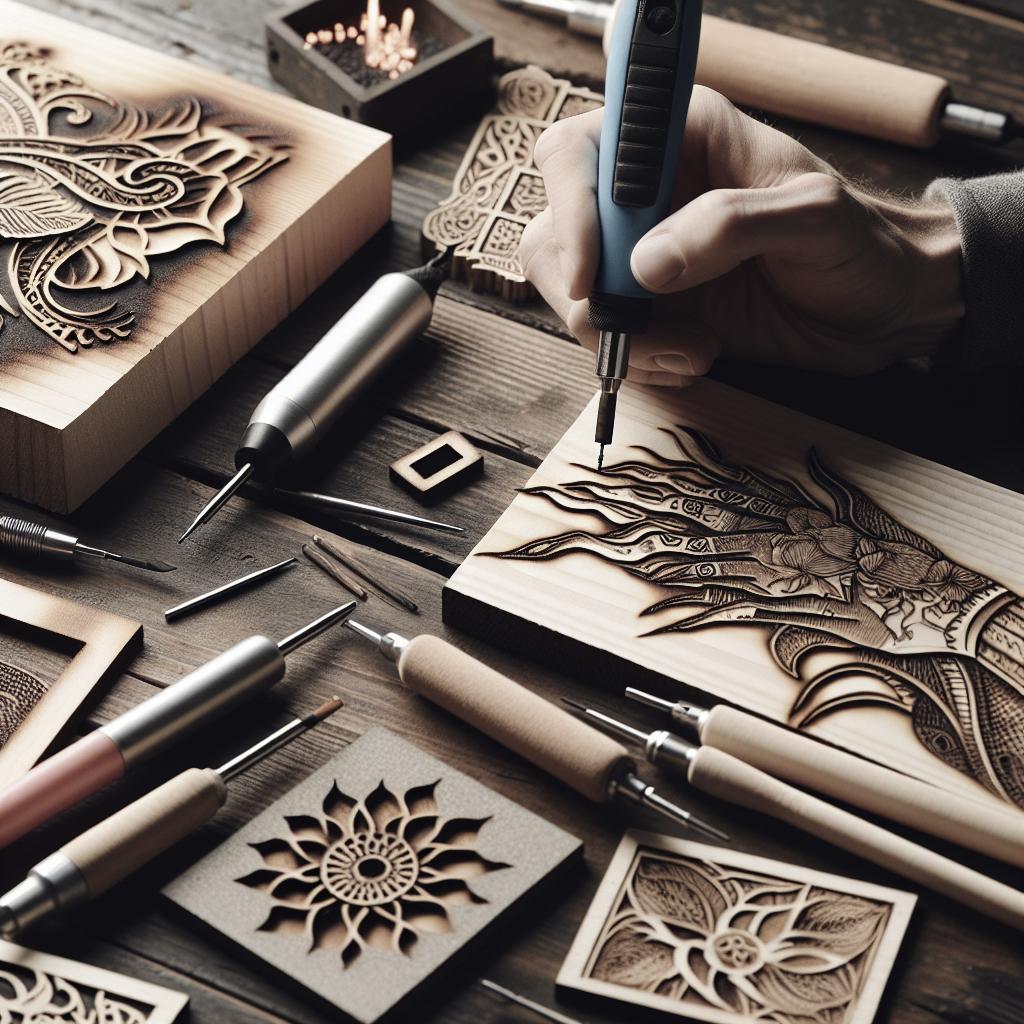
Pyrography, the art of decorating wood with burn marks, is a fantastic way to add a unique and personal touch to your woodwork projects. This technique, also known as wood-burning, can transform ordinary pieces into striking works of art. In this guide, we’ll look at the essential materials you’ll need, explore each step in detail from planning your design to the finishing touches, and how to enjoy the entire process. Whether you’re a seasoned craftsman or a curious beginner, enhancing your wood projects with pyrography is a rewarding and creative journey.
Materials:
To get started with pyrography, you’ll need several essential materials. First and foremost, a wood-burning tool or pyrography pen is a must-have. These tools come in various styles with different tip options, allowing for a range of artistic effects. Be sure to select a tool suited to your comfort level and the complexity of the designs you intend to create.
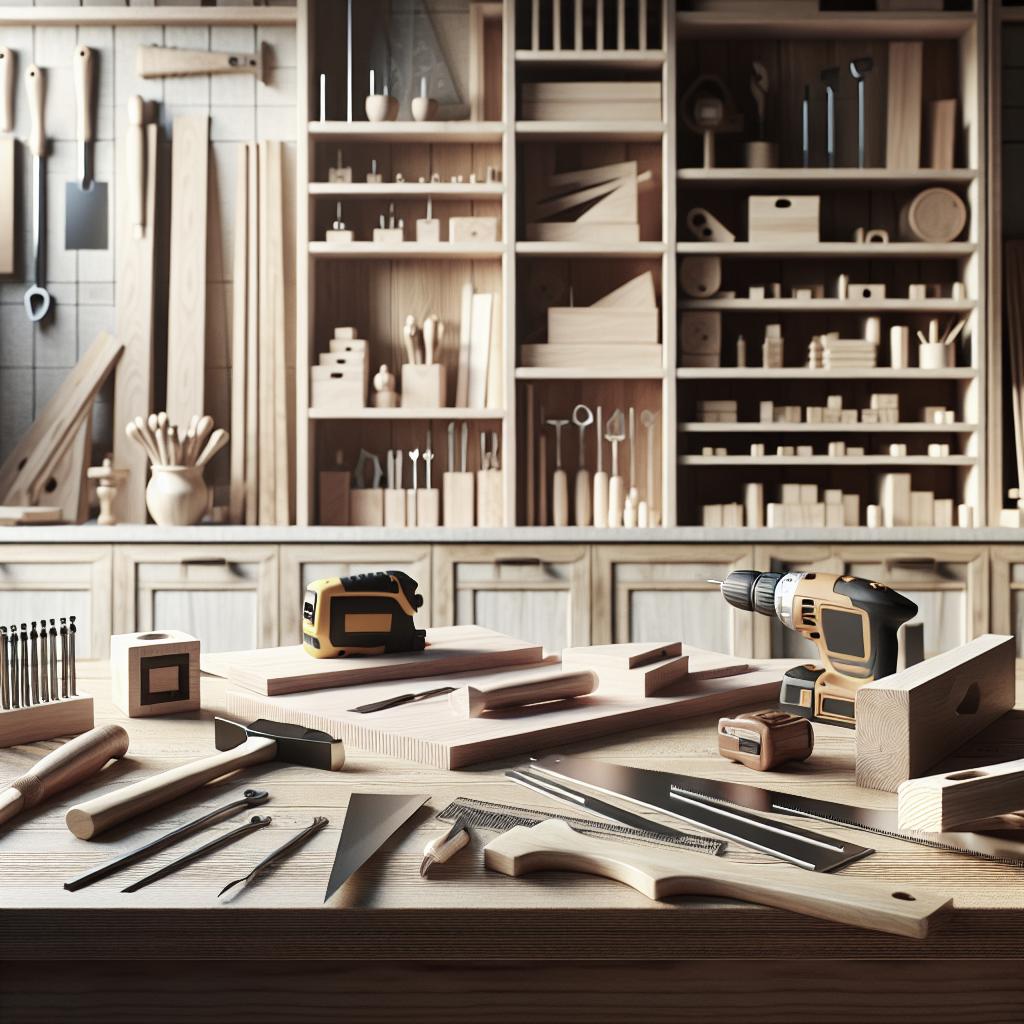
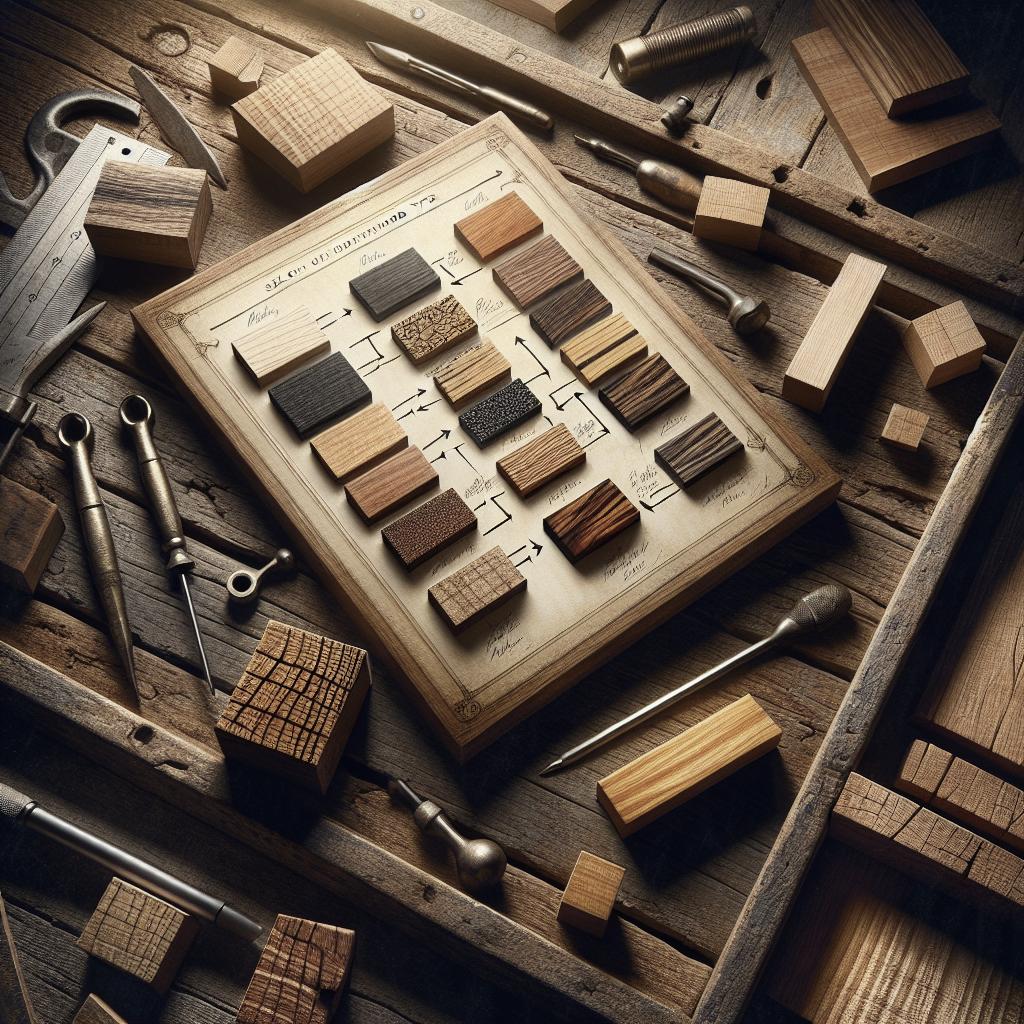
Next, consider choosing quality wood. Opt for woods with fine grains such as basswood or birch, which are easier to burn and demonstrate more detail. You’ll also want protective gear like gloves and an apron, as well as a workspace that’s both comfortable and safe.
1. Select your marker of choice
Selecting the right marker or burning tool is crucial for the success of your pyrography project. Pyrography pens come in two main types: solid-point burners and wire-nib burners. Solid-point burners are beginner-friendly and perfect for basic designs. If you are looking to experiment and create intricate patterns, a wire-nib burner, which allows for greater precision and control, would be ideal.
Consider the ergonomics of the tool you choose. You’ll be holding it for long periods, so the grip and weight are important for comfort and reducing hand fatigue. Look for tools with adjustable heat settings for greater versatility, which can help achieve varied tonal effects in your work.
2. Create a flat surface
Sanding your surface
Before you start burning your design onto the wood, it’s crucial to prepare a flat and smooth surface. Sanding is an essential step in this process. Start with a coarse sandpaper to remove any large imperfections, then gradually move to a finer grit to create a sleek finish. This ensures the wood is smooth, which allows for even heat distribution during burning.
Removing the sanding dust is another critical step. Wipe down the wood with a damp cloth and let it dry completely before moving on to the next step. This preparatory work sets a critical foundation for a successful pyrography project, resulting in a cleaner, more detailed finish.
3. Create your design
Carving your stick
Before you begin burning, sketch your design on paper or directly onto the wood using a light pencil. This initial outline will serve as a guide as you work with the pyrography pen. If you’re not confident in freehand drawing, consider using stencils or transferring designs with carbon paper.
If you’re carving a stick or other wooden item, focus on how the design complements the object’s shape and form. The design you choose should not only enhance the appearance of the wood but also suit its dimensions and curves.
How to sharpen a knife using a ceramic mug:
In some cases, depending on the design you’re working with, a sharp carving knife might be necessary to accentuate details before burning. Here’s a helpful tip: sharpen your knife using the unglazed bottom ring of a ceramic mug. Simply run the blade back and forth at a consistent angle across the ceramic edge until it sharpens.
This handy trick ensures that your tools are in optimal condition for either pyrography or detailed wood carving, allowing for precise and clean marks regardless of the technique.
4. Burn it
Now we’re onto the most exciting part: the burning process. Always start with practice on a scrap piece of wood to get familiar with the tool’s movement and heat settings. Gradually, move onto your prepared wooden piece and use steady, even strokes, maintaining consistent pressure and speed.
Adjust the temperature settings and pressure accordingly to achieve various effects, such as shading and line variation. Patience is key here; rushing can result in errors or uneven burns. Remember, it’s better to work in layers, slowly building up the design rather than applying too much heat at once.
5. Finish it (optional)
Once you’ve completed the burning process, you might want to finish your project with a protective coat. This step is optional but highly recommended for preserving your work. You can use oils, sealants, or clear varnishes to enhance and protect the design from dust and wear.
Apply a thin, even coat with a brush or cloth, following the wood grain. Allow it to dry completely before applying any additional layers. This finish not only prolongs the lifespan of your work but also deepens the wood’s natural hues, bringing out the richness of your pyrography masterpiece.
6. Enjoy it
With your design complete, it’s time to sit back and appreciate your handiwork. Display your pyrography wood project proudly or gift it to someone special. There’s a certain satisfaction that comes with creating art through such a tactile medium, and each project brings new learning and creativity.
Moreover, reflecting on your completed project can provide valuable insights into areas of improvement for future works. This will help further refine your skills, making each subsequent piece more intricate and refined.
Want to learn more about pyrography?
Pyrography is an art form with a deep history and a wealth of techniques to explore. For those interested in deepening their understanding and skills, numerous resources are available. Consider joining online forums, watching tutorial videos, or attending workshops to connect with other enthusiasts.
Whether you wish to explore new tools, learn advanced techniques, or find inspiration, the community surrounding pyrography is vibrant and welcoming. It’s a delightful and fulfilling journey that blends creativity with craftsmanship.
Lessons Learned
| Step | Key Points |
|---|---|
| Materials | Select a quality wood-burning tool and wood, and ensure you have a safe workspace. |
| Select your marker | Choose between solid-point and wire-nib burners based on your design needs. |
| Create a flat surface | Properly sand and prepare your wood to ensure even burns. |
| Create your design | Outline your design carefully and consider the wood’s form when planning. |
| Burn it | Practice and apply consistent pressure and heat to achieve the desired effect. |
| Finish it | Optional but recommended to apply a protective coat to preserve your work. |
| Enjoy it | Take pride in your work and reflect on areas for skill improvement. |
“`


