“`html
Incorporating Epoxy Resin in Wooden Creations
Epoxy resin has revolutionized the world of woodworking, creating a mesmerizing fusion of art and craftsmanship. Whether you’re a seasoned woodworker or a curious enthusiast, incorporating epoxy resin into wooden projects can elevate your creations to new heights. From vibrant river tables to intricate jewelry and elegant wall art, the combination of resin and wood offers endless possibilities. This article serves as your comprehensive guide to understanding resin wood art, its growing popularity, the basic steps involved, and answers to common questions. With insights into advanced techniques and troubleshooting tips, you’ll be well-equipped to embark on your own resin and wood journey.
What Is Resin Wood Art?
Resin wood art refers to the creative integration of epoxy resin within wooden projects. This artistic approach allows for striking contrasts and vibrant visual effects, as resin can be colored or kept clear to amplify the beauty of natural wood grains. The versatility of epoxy resin adapts seamlessly to various designs, enabling artists to craft furniture, decor, and even small accessories with a unique, personalized touch.
Typically, resin wood art projects begin with selecting the perfect piece of wood to complement the desired outcome. Whether it’s a fine piece of live edge wood for a table or a smaller cut for jewelry, the goal is to enhance the wood’s natural beauty. The resin acts as both an adhesive and a decorative element, turning ordinary wooden structures into captivating art pieces.
Why Is Resin Popular in Woodworking?
The popularity of resin in woodworking is largely due to its transformative effects. Resin enables woodworkers to achieve glass-like finishes and create intriguing depth in their projects. This synthetic material is especially favored for its ability to preserve the natural beauty of wood while introducing bold colors and patterns that wouldn’t be possible with wood alone.
Another factor contributing to resin’s popularity is its durability. When properly applied and cured, epoxy resin forms a tough, resilient surface that is resistant to heat, scratches, and water. This makes it ideal not only for aesthetic purposes but also for functional surfaces like countertops and tables, where durability is crucial.
Basics of the Resin Wood Art Process
The process of creating resin wood art typically begins with designing the piece and selecting the materials. Once the artistic vision is clear, the wood is prepared, and resin is introduced either by pouring, layering, or embedding objects. This allows artisans to manipulate colors and enhance textures, resulting in a piece that pairs the organic charm of wood with the ethereal quality of resin.
After applying the resin, it’s essential to allow it sufficient time to cure. Depending on the project, this can take anywhere from 24 hours to several days. During this time, environmental conditions such as temperature and humidity need to be controlled to ensure the resin sets correctly.
How to Prepare for Your Resin & Wood Project
Select the Right Wood
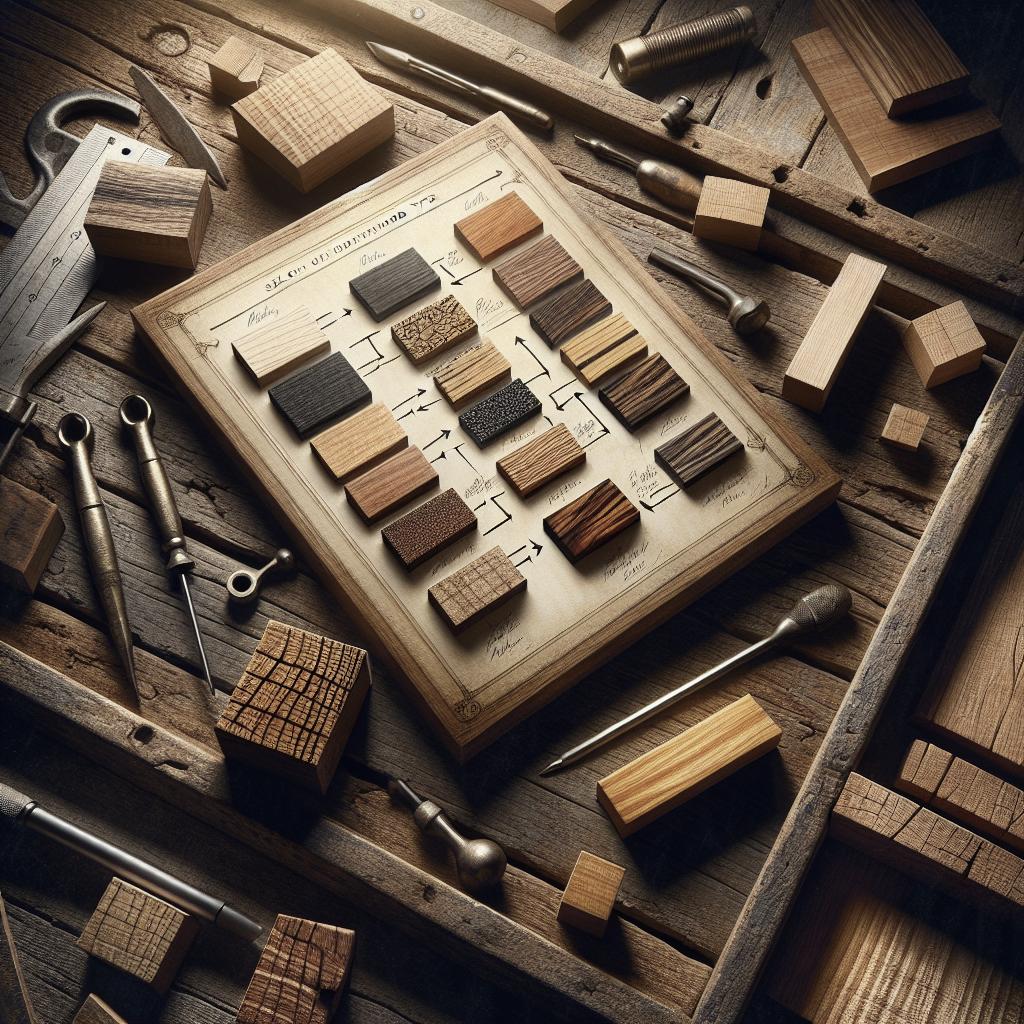
The first step in crafting beautiful resin wood art is choosing the right wood. Look for wood that complements your design vision. Hardwoods like oak, maple, and walnut are popular choices due to their strength and unique grain patterns. The wood should be dry and free of imperfections like cracks, which could affect the final product’s durability.
Consider the color and grain of the wood as they will play a crucial role in determining the piece’s aesthetic. It’s also beneficial to think about the size and thickness of the wood, which can influence the amount of resin required and the project’s complexity.
Gather Your Materials & Tools
Before starting, it’s important to gather all necessary materials and tools. You’ll need epoxy resin, hardener, mixing containers, measuring tools, and protective gloves. For wood preparation, have sandpaper, a planer, and clamps on hand. Colors and pigments can be added to the resin for customization, so choose these based on your artistic direction.
Ensure you have a clean, level workspace where dust and debris won’t interfere with the curing process. A drop cloth or tarp is useful in protecting surfaces from resin spills.
Prepare the Wood Surface
Preparing the wood surface is vital for successful resin application. Start by planing and sanding the wood to ensure it’s smooth and even. Filling any holes or voids with wood filler helps to create a seamless surface. If you plan to incorporate natural imperfections, ensure they are stable and won’t compromise the piece’s structural integrity.
It’s also crucial to seal the wood before applying resin. Sealing prevents bubbles from forming as the resin cures and improves adhesion. Use a thin layer of resin or a specific wood sealer to coat the surface, then let it dry thoroughly before proceeding with the main pour.
Take the Proper Safety Measures
Safety is paramount when working with epoxy resin. Always use gloves and a respirator to protect against skin contact and inhalation of fumes. Resin work should be done in a well-ventilated area to minimize exposure to hazardous chemicals.
Follow the manufacturer’s guidelines for best practices and dispose of all materials in accordance with local regulations. Wearing protective eyewear is advisable, especially during the mixing and pouring phases, to prevent splashes or spills from coming into contact with your eyes.
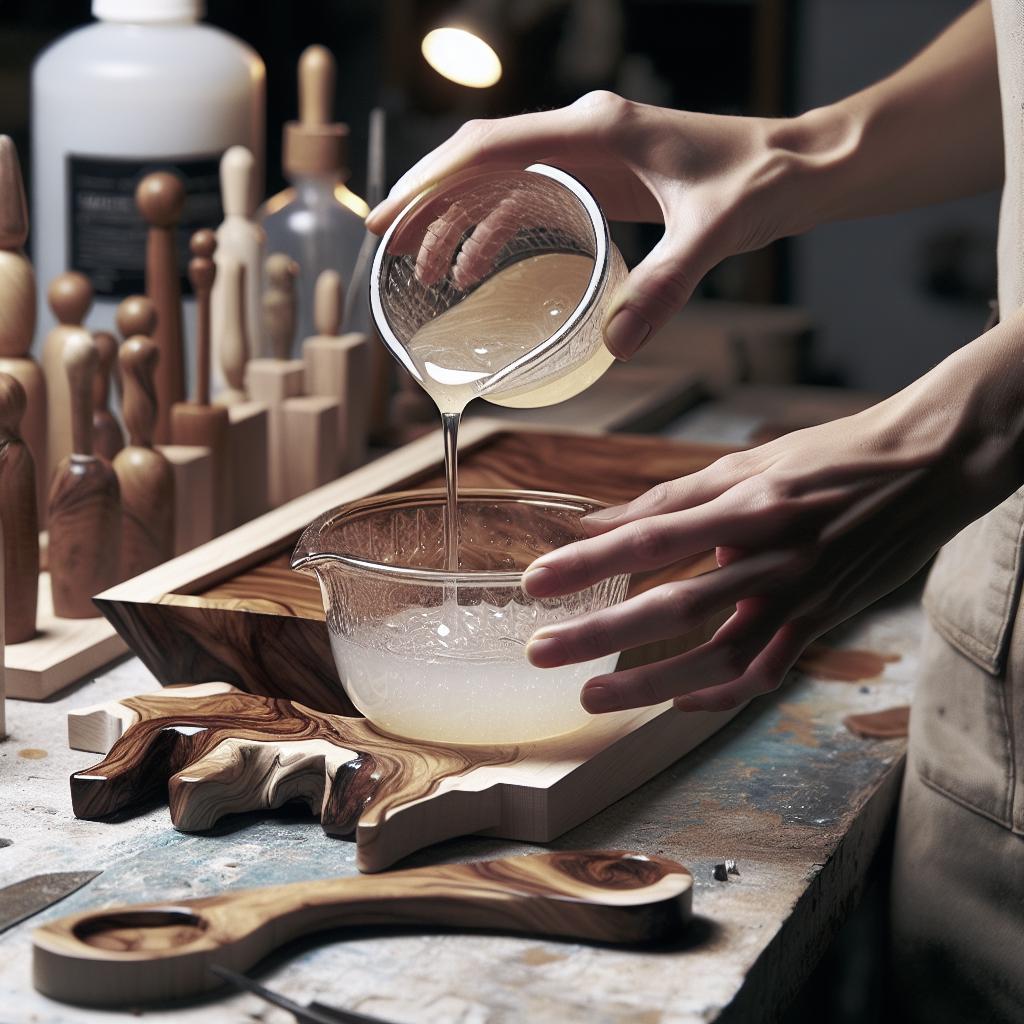
Mixing & Applying the Resin
Properly mixing resin is crucial to achieving a successful project. Follow the manufacturer’s instructions for the ratios of resin to hardener, as incorrect measurements can lead to issues like improper curing. Stir the mixture slowly to avoid introducing air bubbles.
When pouring resin onto the wood, work in layers if necessary, allowing each one to settle slightly before introducing the next. This helps prevent excessive heat buildup and enhances the final appearance. Use a torch or heat gun to gently remove bubbles from the surface as the resin sets.
Finishing & Aftercare
After the resin has cured, the next step is finishing. Sand the surface smoothly, using fine-grit sandpaper to eliminate any imperfections. Polishing adds luster and enhances the clarity of the resin, creating a professional-grade finish.
For the best results, apply a protective topcoat to shield against UV damage and enhance durability. Regular cleaning with a soft, damp cloth will help maintain the resin’s appearance, while avoiding harsh chemicals will prevent premature degradation.
Troubleshooting Common Mistakes & Issues
Common issues in resin wood art include bubbling, improper curing, and uneven surfaces. To combat bubbles, ensure the wood is well-sealed before pouring resin and use a heat gun to tackle any that rise during curing. Imprecise mixing can lead to tackiness, which is best avoided by strictly adhering to ratio instructions.
If the surface ends up uneven, sanding and applying another coat of resin can level it out. Weak structural integrity can often be avoided by ensuring all voids in the wood are stabilized before resin application.
Advanced Design Techniques
For those ready to advance their skills, techniques such as embedding objects within resin or creating intricate patterns might appeal. Incorporating metallic powders, pigments, or glow-in-the-dark elements adds depth and interest to the piece.
Experimenting with molds or layering techniques can lead to unique creations, offering an opportunity to explore themes and variations that go beyond traditional woodworking projects.
Frequently Asked Questions
What common mistakes should be avoided in resin crafting?
Common mistakes include incorrect resin-to-hardener ratios, inadequate surface preparation, and failing to work in a dust-free environment. Tackling these issues requires careful planning, accuracy in measurements, and controlled workspace conditions.
What are some tips for the proper finishing and curing of resin?
Effective finishing and curing involve gradual sanding and polishing to achieve a smooth surface. Allow enough time for curing to prevent tackiness, and maintain UV-resistant conditions for maximum longevity of the resin.
Are there specific aftercare and maintenance tips for resin and wood art pieces?
Aftercare involves regular dusting and cleaning with non-abrasive materials. Avoiding direct, prolonged UV exposure prevents yellowing. Periodically polish resin surfaces to retain their shine and protective qualities.
Final Thoughts
| Section Title | Key Points |
|---|---|
| What Is Resin Wood Art? | Combines epoxy with wood to create unique art; enhances natural beauty of wood grains. |
| Why Is Resin Popular in Woodworking? | Durability and aesthetic appeal; allows for versatility in design. |
| Basics of the Resin Wood Art Process | Starts with design; involves preparation, application, and curing of resin. |
| Preparation Steps | Choose wood, gather materials, prepare surface, ensure safety. |
| Mixing & Applying the Resin | Accurate mixing ratios; layer application; bubble removal techniques. |
| Finishing & Aftercare | Sanding and polishing; topcoat application; regular maintenance. |
| Troubleshooting | Address bubbles, uneven surfaces, and curing issues with proper techniques. |
| Advanced Techniques | Embedding, pigments, creating patterns for a sophisticated look. |
“`