“`html
How to Properly Sand and Polish Wooden Surfaces
Transforming a rugged piece of wood into a beautifully polished surface is an art that requires patience and the right techniques. This guide will take you through each step of the sanding and polishing process, ensuring your wooden surfaces attain a high-quality finish. You will learn about the necessary tools and materials, how to prepare your work area, the best sanding methods, and how to achieve a perfect polish. Whether you’re working on furniture, flooring, or a decorative art piece, these insights will help you bring your project to life with a flawless, professional appearance. Dive in to discover the hidden potential of your wooden surfaces.
Our Starting Point
Before embarking on this smoothing journey, assess the current condition of your wooden surface. Is the wood painted, varnished, or raw? Understanding its starting point allows you to decide the best approach to sanding and polishing. Consider any imperfections like scratches, dents, or stains that might require special attention or different tools. Preparation speaks volumes in the final outcome.
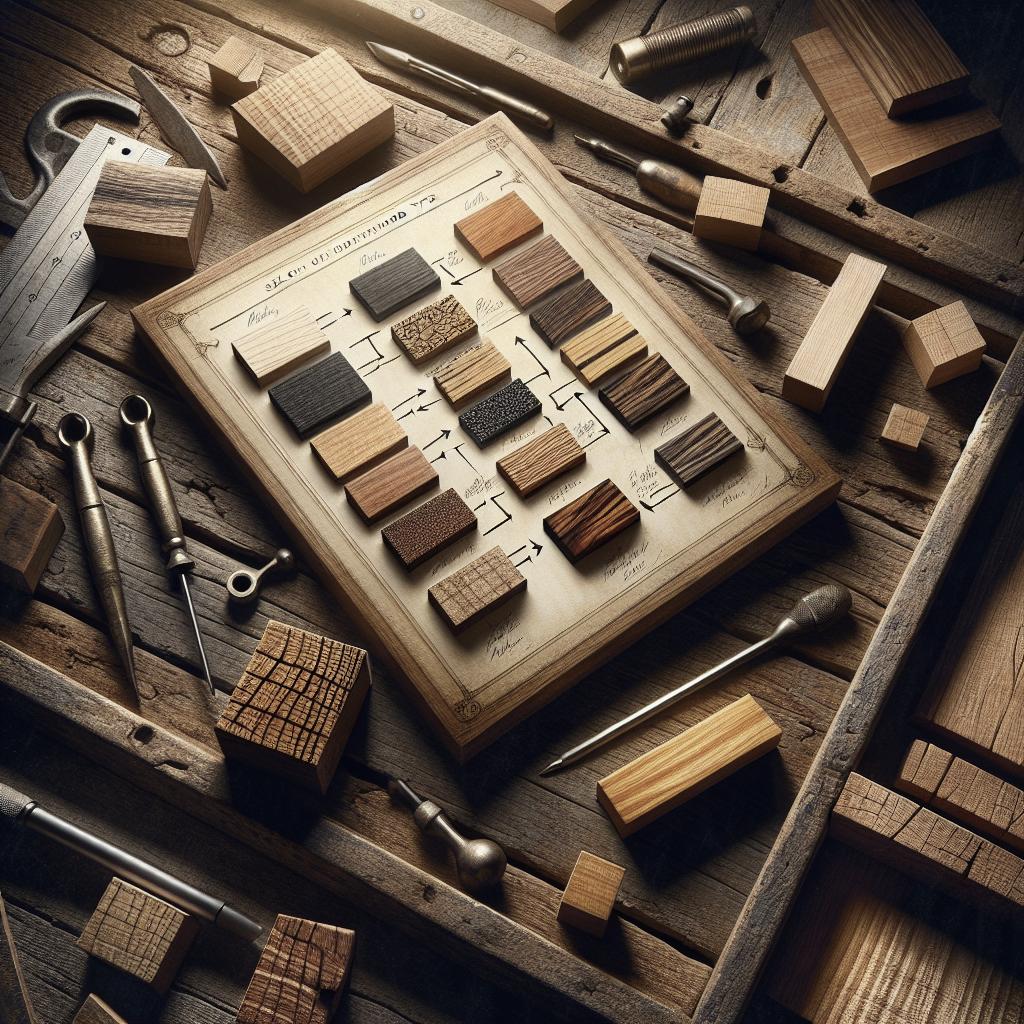
It’s equally important to understand the type of wood you’re dealing with. Each variety, from oak to walnut, behaves differently under sanders, impacting both the sanding technique and the finish. Some woods might demand extra care to avoid damages or a more grueling sanding process to achieve your desired result.
Tools Required
To craft a shiny wooden surface, assembling the right tools is crucial. Start with a variety of sandpaper grits, ranging from coarse to fine (40 grit to 220+ grit), as each is vital for different stages of the sanding process. A power sander is a welcomed companion for larger surfaces, reducing the workload and ensuring uniformity.
Additionally, a sanding block will facilitate control and precision over edges and smaller areas. Don’t forget tools for cleaning and safety: a vacuum or dust collector will handle debris, while safety goggles and masks protect you from harmful particles. Finally, for the polishing phase, a clean cloth or buffing pad will provide you with that perfect finish.
Materials Required
Apart from tools, some vital materials are required to proceed effectively. Wood filler or putty becomes your ally when dealing with prominent imperfections, filling in gaps or deep scratches for a smooth surface. Opt for an appropriate wood stain too, especially if you’re aiming for a specific color outcome.
For polishing, choose a high-quality wood polish or wax that best suits the type of finish your project deserves. If you plan to stain the wood, ensure a compatible sealer or top coat is ready to preserve the results. Finally, have tack cloths within reach – they’re perfect for removing dust and ensuring a pristine surface for a final polish.
Can I Start Sanding Yet?
Jumping straight into sanding can be tempting, but like any craft, preparation is key. Make sure your workspace is tidy and well-lit to spot imperfections. Secure the wooden piece to a stable workbench, ensuring it stays firm during sanding for both accuracy and safety.
Before sanding, inspect the wood thoroughly. Use wood filler on any dents or holes and let it dry adequately. Clean the surface with a tack cloth, so debris doesn’t interfere with the sandpaper’s grit. When the wood surface feels smooth to touch and looks free of imperfections, you’re ready to start sanding.
Sanding With the Grain or Across the Grain?
One of the golden rules of sanding is to follow the grain of the wood. Sanding with the grain helps avoid unsightly scratches, enhancing the natural texture and character of the wood. When wood is sanded against its grain, scratches become prominent, and achieving a smooth finish becomes a challenge.
However, there are cases where sanding across the grain is useful, especially when dealing with severe surface damages. In such cases, start with a coarse grit sandpaper for damage control, then carefully transition to smoother grits while switching back to sanding with the grain.
Light it Up
Lighting plays a pivotal role in evaluating your sanding progress. Using a bright light source or even natural sunlight helps highlight any sanding marks or imperfections that are invisible under dimmer lights. Move the light source around to see the wood from different angles, catching flaws otherwise unnoticed.
Additionally, a well-lit workspace ensures each area receives the same attention, preventing under-sanding parts of the wood. This meticulous approach ensures a uniform appearance across the entire surface, key to achieving a professional-level finish.
Sanding, and sanding, and some more sanding
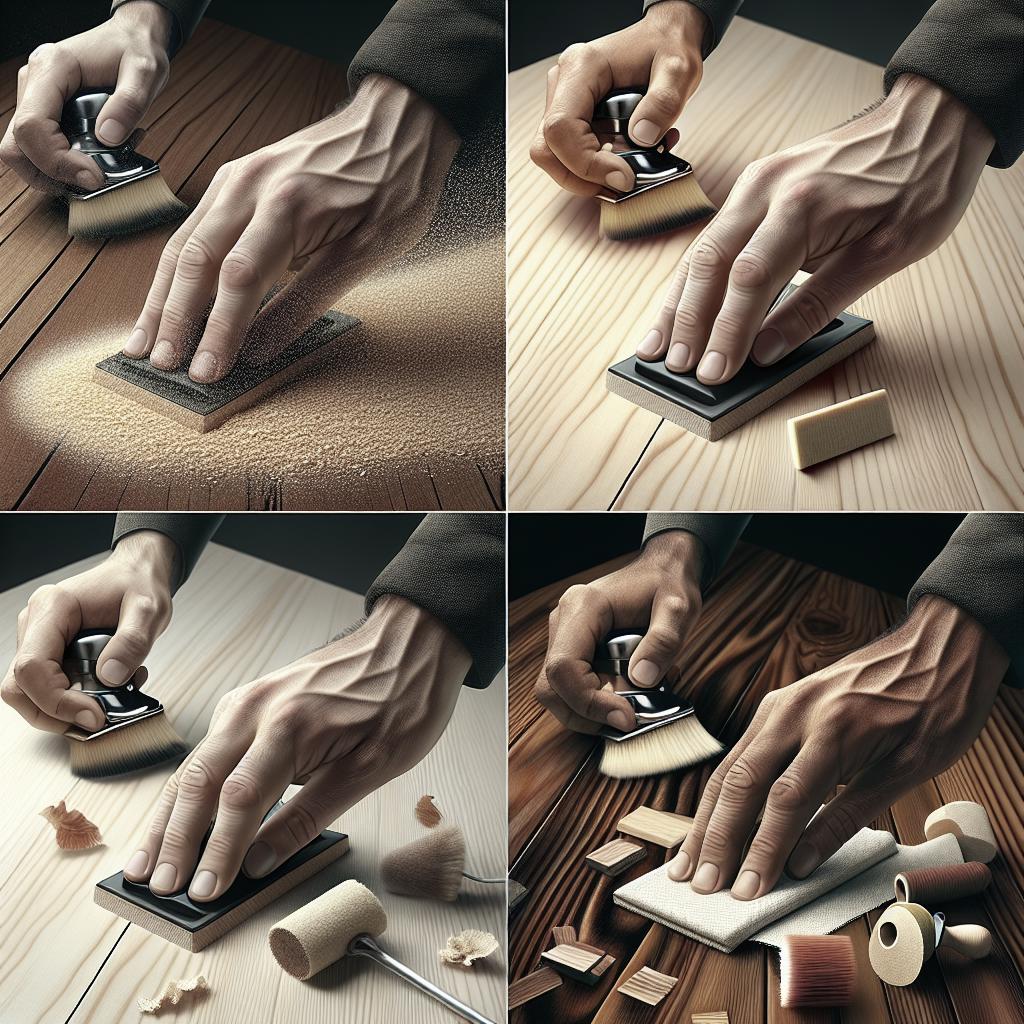
Begin with coarse sandpaper (40 to 60 grit) to tackle the rough areas and gradually move to finer grits. This incremental increase in grit levels smoothes the surface progressively, removing deep scratches left by the coarser grits. It’s important to ensure each grit does its job before moving to the next finer option.
Consistency in sanding pressure is essential for a uniform surface. Any imbalance can lead to uneven sections that are difficult to rectify later. After sanding with each grit, wipe the surface with a tack cloth to clear any dust and evaluate if the sanding is even and smooth before progressing.
I Hit All My Grits, Now What?
Having spent ample time with the sandpaper, it’s time for that extra touch: the polish. Ensure that the surface is pristine and dust-free, then apply a wood polish or wax in a circular motion, using a clean cloth or buffing pad. This final step elevates the wood’s appearance, imparting a rich, vibrant glow.
If the piece is stained, consider applying a sealant to lock in the color and protect it from external elements. Ensure the application is even, and follow the manufacturer’s instructions for drying time. Once properly dried, a light buff further enriches the finish, revealing the wood’s natural charm.
Lessons Learned
| Step | Description |
|---|---|
| Starting Point | Assess the wood’s initial condition and identify any imperfections. |
| Tools and Materials | Gather sandpapers, power sanders, safety gear, fillers, and polish for the task. |
| Pre-Sanding Setup | Prepare your workspace, secure the wood, and clean the surface. |
| Sanding Techniques | Sand with the grain; use coarse grits for damage, finer for smoothness. |
| Lighting | Use bright, varied light to spot sanding imperfections. |
| Progressive Sanding | Move from coarse to fine grits consistently for a smooth finish. |
| Finishing Touches | Apply polish or wax, seal if necessary, and buff for enhancement. |
“`