“`html
Introduction: Wood Burning 101 – Techniques and Tricks
Wood burning, also known as pyrography, is a fascinating art form that dates back to ancient times and has seen modern resurgence. This craft involves creating designs on wood using controlled heat applications, often with a specialized wood burner. In today’s post, we’ll explore advanced wood burning techniques to enhance your artistic skills, providing a comprehensive guide from tools to intricate design strategies. You’ll discover how to navigate various burners, woods, and patterns to create stunning works of art. Whether you’re a beginner or looking to refine your skill set, this guide offers practical steps and creative inspiration to help you master wood burning.
Step 1: Wood Burners
At the heart of wood burning lies the tool you choose to etch your designs: the wood burner. There are two main types: solid-point burners and variable-temperature burners. Solid-point burners, commonly found in craft stores, are great for beginners. They tend to have fixed tips and are straightforward to use. However, for those seeking to refine their technique, a variable-temperature burner provides more control and versatility, allowing artists to adjust heat to suit different woods and patterns.
When choosing a burner, consider the different tips available. From fine tips for detailed work to broader tips for shading, each serves a unique purpose. Investing in interchangeable tips can greatly expand your artistic capabilities. Additionally, practice is paramount; once comfortable with your burner, explore adjusting temperatures and strokes to find what best aligns with your creative vision.
Step 2: Woods to Burn
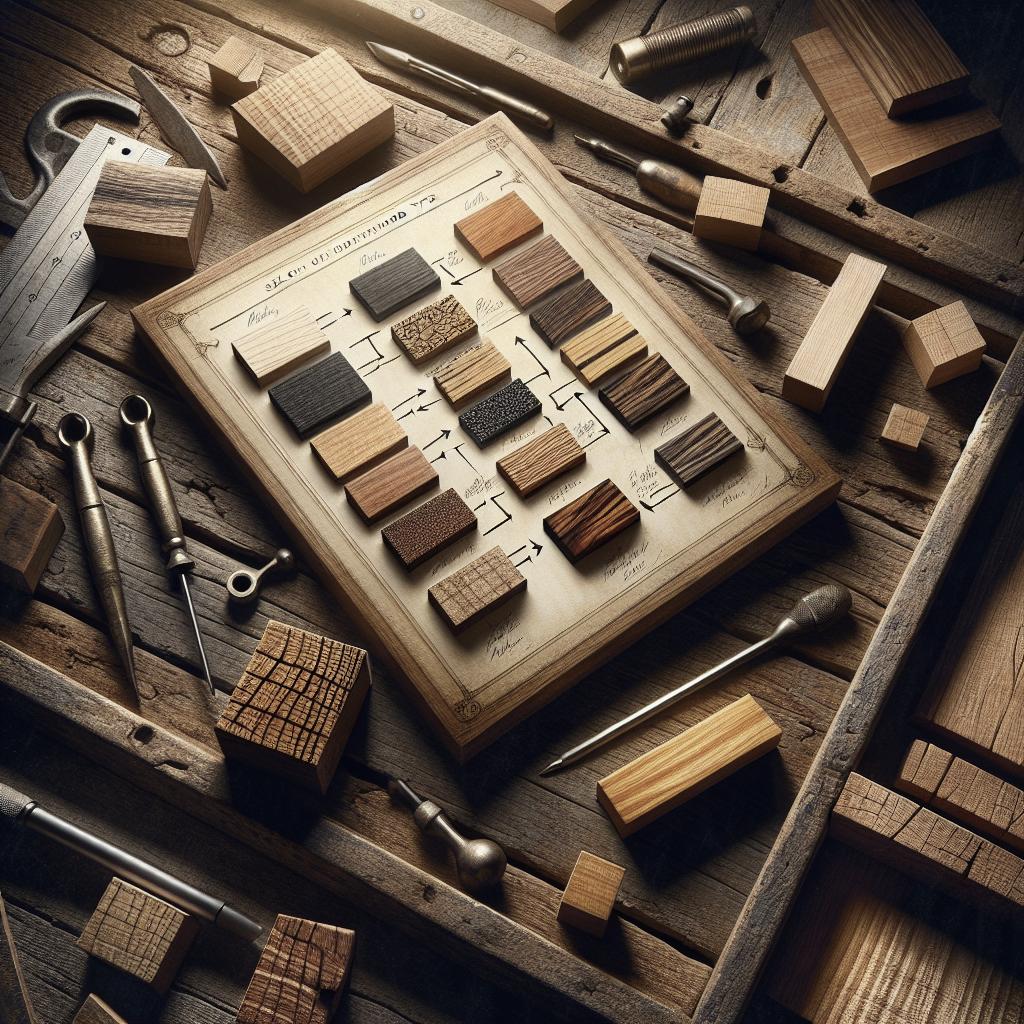
The choice of wood can significantly affect the outcome of your pyrography project. Softer woods, like pine and basswood, are generally more forgiving and easier to burn, making them ideal for beginners. These woods allow the burner to glide smoothly, creating clean lines and details. However, the softness can lead to unintended scorch marks if not careful.
For more advanced projects, consider using hardwoods like birch or maple. These woods present a beautiful grain and offer more resistance, which can enhance the intricacy of your design. While hardwoods require more patience and control due to their density, the results are often more polished and refined. Before you begin, sand your chosen wood to a smooth finish to avoid interference from grains.
Step 3: Drawing Guidelines
Before you start burning wood, it’s essential to lay down your design with a pencil. Lightly sketch your ideas directly onto the wood as a guideline. This step ensures that you have a well-thought-out plan before applying heat, which can prevent mistakes that are difficult to undo.
For intricate designs, consider using tracing paper or carbon paper to transfer an image onto your wood. This method allows for precision and can help maintain proportion and symmetry in detailed works. It’s a time-saving technique that lets you focus more on the burning process itself, rather than continually adjusting your sketch.
Step 4: Basic Outlines
Start your wood burning project by tracing your pencil marks with your burner to create a strong outline. Outlining helps define the structure of your design, making it easier to fill with detailed techniques later on. Use a steady hand and begin with a low temperature to avoid scorching.
As you outline, take note of any changes in the wood’s texture or grain, as this can affect your line work. Practicing steady, consistent strokes will contribute to a clean outline. Remember, the outline sets the foundation for your entire project, so take your time and ensure precision.
Step 5: Technique: Filling Silhouettes
Once the outline is perfected, it’s time to fill in larger areas within your design. Filling silhouettes requires patience and an even hand to ensure a consistent shade without unwanted burning marks. A common technique is to use a circular motion or small, overlapping strokes to maintain uniformity while filling an area.
The temperature of your burner plays a crucial role here; too hot and it will leave noticeable marks, too low and it may need multiple passes. Adjust your tool accordingly and practice on a spare piece of wood to get the hang of shading consistently. This technique adds depth to your work, making your designs pop out and appear more three-dimensional.
Step 6: Technique: Gradient Effect
Creating a gradient effect can take your wood burning from basic to breathtaking. This technique involves transitioning from light to dark, requiring precision and control over your burner’s temperature. Start with a lower heat setting to lightly scorch the wood, then gradually increase the temperature as you move to darker areas.
Use various pressures and movements to create smooth transitions. Experiment with diagonal strokes or circular movements to achieve the desired gradient, always keeping in mind that practice makes perfect. This effect not only adds depth but also introduces an illusion of lighting, enhancing the overall aesthetic of your artwork.
Step 7: Technique: Hatching
Hatching is a valuable technique used to create texture and tone in pyrography. It involves burning parallel lines close to each other to give the impression of shading or depth. The closer the lines, the darker the perceived area becomes. This technique is superb for rendering shadows or any element that requires tonal variation.
Cross-hatching, which involves layering sets of hatches at different angles, can further intensify the depth and texture of your piece. Incorporating hatching into your designs can bring them to life by adding an intricacy that flat burns cannot achieve. Experiment with line density and angles to see what best suits each part of your design.
Step 8: Technique: Textures
Texture is an essential element in wood burning that adds realism and interest to your artwork. Different techniques can be used to mimic textures like fur, feathers, or even the bark of a tree. This can be done by varying your hand movements, applying different pressures, or altering the burner’s heat.
When working on textures, reference real-life images to accurately capture the intricacies of the design you wish to replicate. This approach not only improves the visual appeal of your project but also challenges your skills and creativity. Remember, experimentation is the key to mastering textures in pyrography.
Step 9: Background Techniques
The background is just as important as the subject in any pyrography piece. Consider whether you want a plain, textured, or shaded background. A lightly burned background can bring forth the subject, creating a striking contrast, whereas a textured background can add complexity and additional points of interest.
Use broader tips for shading large areas or experiment with stippling, creating various patterns or dots to fill the background. How you choose to treat the background will influence the mood and focus of your entire artwork, so consider it an integral part of the composition.
Step 10: Enjoy!
Finally, take a step back to appreciate your work. Wood burning is not just about creating art; it’s a relaxing and rewarding process. Each piece you create will help you learn and evolve as an artist. Remember that perfection comes with practice and patience.
As you grow more comfortable with these techniques, feel free to experiment with blending and combining them to develop your unique style. The art of wood burning is a vast and varied journey where each step takes you closer to mastering this craft, allowing your creativity to shine.
| Step | Description |
|---|---|
| Wood Burners | Choosing between solid-point and variable-temperature burners; importance of interchangeable tips. |
| Woods to Burn | Selecting the right wood type; the difference between softwoods and hardwoods. |
| Drawing Guidelines | Importance of preliminary sketches; methods for transferring designs. |
| Basic Outlines | Creating clean outlines as a strong foundation for further techniques. |
| Filling Silhouettes | Techniques for shading and filling large areas with consistent results. |
| Gradient Effect | Tips for achieving smooth transitions from light to dark. |
| Hatching | Using parallel lines to create depth and shadows; exploring cross-hatching. |
| Textures | Techniques for creating realistic textures like fur, feathers, and bark. |
| Background Techniques | Strategies for enhancing background elements to complement the subject. |
| Enjoy! | Embracing the artistic process and developing a unique style through practice. |
“`