“`html
How to Effectively Restore Wooden Floors
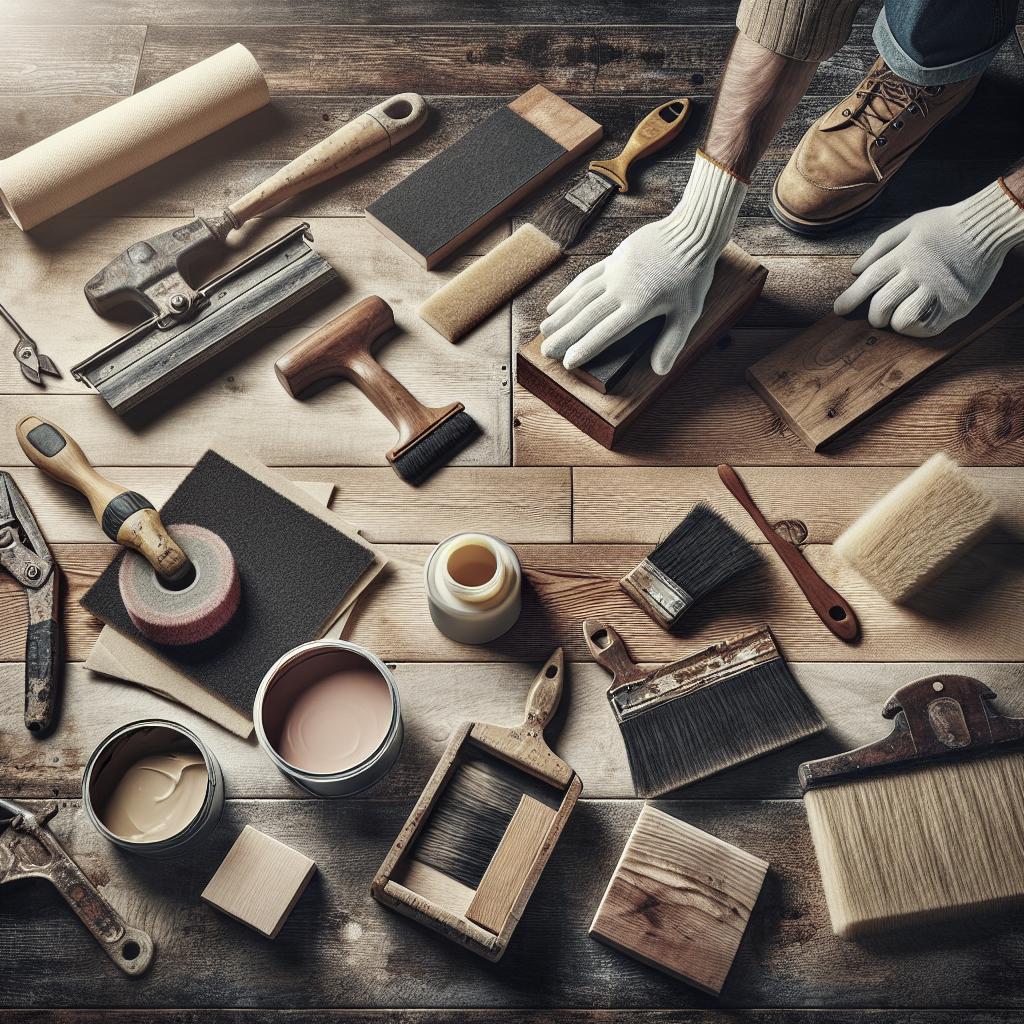
Restoring wooden floors is a fulfilling task, enhancing the beauty and lifespan of your home’s flooring. Whether you’re looking to breathe new life into old hardwoods or maintain the richness of newer installations, understanding the process is key. In this comprehensive guide, we’ll cover how to effectively refinish hardwood floors, including essential preparation, patch and repair techniques, sanding, buffing, and the application of sealers or stains. Each step is crucial for achieving a beautifully restored floor, and with the right guidance and tools, you can transform your wooden floors with confidence.
Related To:
Refinished Hardwood Floor
Refinished hardwood floors can dramatically enhance any space, promoting elegance, warmth, and character. Over time, even well-maintained floors can become dull, scratched, or stained. Refinishing is the process of sanding the surface, repairing any damage, and reapplying a protective coating, restoring the floor’s original luster.
While it may seem daunting, refinishing hardwood floors can be a rewarding DIY undertaking. Not only does it improve your floor’s appearance, but it can also increase your home’s value by maintaining high-quality traditional wooden flooring. Following the right steps ensures a professional finish, even if this is your first refinishing project.
1. Prep the Room
Prep a Room for Hardwood Floor Refinishing: Cover Vents
Proper room preparation is the first step in successful floor restoration. Begin by clearing all furniture from the room to create an unobstructed work area. Once the space is cleared, cover vents thoroughly with plastic sheeting secured with painter’s tape. This prevents dust from spreading to other parts of the house during sanding, which is notorious for producing fine dust particles.
Additionally, ensure drapes and nearby surfaces are covered to protect them from dust and debris. This meticulous attention to prep work saves time during cleanup and helps maintain a clean work environment throughout the refinishing process.
Prep a Room for Hardwood Floor Refinishing: Remove Molding
Next, remove any baseboards or molding along the perimeter of your floor. Use a pry bar gently to avoid damaging the walls. Label each piece as you go so they can easily be reattached after refinishing. Removing molding ensures you have access to the edges of the floor, allowing for a comprehensive sand and finish job.
Keep in mind, the goal is to reach as close to the wall as possible, ensuring no unfinished sections are left which could affect the overall look of the floor once completed. This step also prevents damage to baseboards from heavy sanding equipment.
2. Patch and Repair
Repair Floors for Hardwood Floor Refinishing: Repair Heavily Damaged Floors
After room preparation, the next step involves assessing and repairing floor damage. For heavily damaged floors, replace severely gouged or loose boards. Custom-cut wood slats, matching the original flooring in species and size, ensure seamless repairs. Secure these with flooring nails, counter-sinking them to avoid sanding interference.
Reliable repairs lay the groundwork for quality refinishing. It is crucial to address these damages early to prevent worsening or affecting the surrounding boards and to maintain an even floor level for sanding and finishing.
Repair Floors for Hardwood Floor Refinishing: Repair Lightly Damaged Floors
Smaller imperfections such as scratches and minor dents can be addressed using wood filler. Choose a filler that matches your floor’s color for seamless integration. After your fillers dry, sand these areas lightly to ensure they align with the rest of the floor surface.
Consistent attention to minor flaws preserves the overall aesthetic and structural integrity of the floor. Thoroughly inspect your floor, filling gaps or splinters, creating an optimal surface for the subsequent steps.
Repair Floors for Hardwood Floor Refinishing: Wipe Down Floor
Once repairs are complete, ensure the floor is free from dust and debris by thoroughly wiping it down. Use a damp cloth to gently remove loose particles and a vacuum with a brush attachment for a comprehensive cleanup.
Wiping down the floor ensures no impurities interfere with the sanding process. This small yet vital step facilitates better sanding accuracy and a smoother, more even finish.
3. Sand the Floor
Hardwood Floor Refinishing: Using a Drum Sander
The next major step is sanding, which begins with a drum sander for broad surfaces. Start with coarse-grit sandpaper and progress to finer grits. Operate the sander along the wood grain, maintaining a steady pace and avoiding stopping mid-pass to prevent uneven marks.
For beginners, practice on a small, inconspicuous area or spare piece of wood to get comfortable with maneuvering the sander. Proper technique and consistent grit progression are crucial for optimal results.
Hardwood Floor Refinishing: Using an Edge Sander
For edges and corners that the drum sander cannot reach, use an edge sander. These smaller, handheld devices provide precision around baseboards and tight spaces, maintaining a consistent sanding surface throughout the room.
Apply steady pressure and follow the grain to ensure continuous blending with the main floor. Subtle attention to detail when using the edge sander prevents uneven spots and ensures a polished, uniform finish.
Hardwood Floor Refinishing: Achieving a Smooth Surface
Achieving a smooth surface involves transitioning through multiple grits of sandpaper. Finish with the finest grit recommended for your wood type, ensuring no visible lines or rough patches. This sets the groundwork for seamless staining and sealing.
Conduct a final inspection by running a hand over the sanded surface. Address any remaining imperfections with spot sanding until a silky, even texture comprises the entire floor.
4. Buff the Floor
Hardwood Floor Refinishing: Buff the Floor
Post-sanding, buffing the floor with a buffer or floor polisher further refines the surface, enhancing smoothness and readiness for sealant application. Utilize a fine abrasive pad and work systematically across the entire area.
This step minimizes minor inconsistencies left by sanding, creating an ideal canvas for the finish. As you buff, the floor should be smooth and slightly abrasive, promoting better adhesion for the upcoming staining or sealing procedures.
5. Prep for Sealer or Stain
How to Refinish Hardwood Floors: Prep for Sealer or Stain
Before sealing or staining, ensure that the floor is entirely clean and dry. Vacuum and tack cloth sweeps eliminate dust and debris, preparing the surface for the finishing substances.
Preparation precision at this stage significantly affects the final aesthetic outcome, ensuring an even and professional-quality sheen post-application.
How to Refinish Hardwood Floors: Water Popping
Water popping raises the wood grain by lightly dampening the floor with a water solution. This process allows stain to penetrate deeper, accentuating grain patterns and providing a richer finish.
Apply the solution evenly with a sprayer or a well-wrung mop, and allow the floor to dry thoroughly post-application. Avoid oversaturating to prevent warping.
How to Refinish Hardwood Floors: Spread the Water Popping Solution
Distribute the water solution by following the wood grain with even strokes. Maintaining consistent application prevents uneven staining post-drying.
The key is to achieve an even moisture level across the entire surface to optimize staining uniformity and richness once dry.
6. Apply Stain (Optional)
How to Refinish Hardwood Floors: Apply Stain (Optional)
Staining is optional but offers a chance to customize your floor’s color. Using a brush or clean cloth, apply the stain following the grain, ensuring full coverage without pooling. Work in small sections to maintain control.
An even application enriches the floor’s natural beauty and highlights the wood grain, enhancing the character of the room. Wipe away excess stain with a clean cloth, ensuring uniform saturation and drying.
7. Seal the Floor
How to Refinish Hardwood Floors: Apply Polyurethane
Sealing the floor involves applying a protective coating of polyurethane. This provides durability and a lasting finish. Use a synthetic brush or a lambswool applicator for best results, working along the grain.
Multiple coats may be needed, with each requiring adequate drying and light sanding in between for a perfect finish. Ensure proper ventilation during application.
How to Refinish Hardwood Floors: Buff with Steel Wool
After sealing coats, a final buff with fine steel wool smooths out imperfections and enhances gloss or matte finishes. Clean any residue thoroughly before the final coat to preserve clarity and quality.
This additional step polishes the surface, preparing it for daily wear and maintaining the floor’s elegance and appeal.
Final Thoughts
| Step | Details |
|---|---|
| 1. Prep the Room | Clear room, cover vents, remove molding for a dust-free environment. |
| 2. Patch and Repair | Repair damages, fill gaps, ensure a clean base for sanding. |
| 3. Sand the Floor | Use drum and edge sanders; achieve a smooth surface with finer grits. |
| 4. Buff the Floor | Enhance smoothness and readiness for sealant with floor buffer. |
| 5. Prep for Sealer or Stain | Clean thoroughly, water popping to enhance stain uptake. |
| 6. Apply Stain (Optional) | Customize wood color with even stain application. |
| 7. Seal the Floor | Apply polyurethane for protection, buffing finalizes finish. |
“`


