“`html
Step-by-Step Guide to Creating Your Woodturning Project
Woodturning is a mesmerizing and rewarding craft that transforms a block of wood into a beautiful art piece using a lathe. This blog post is designed to be your comprehensive guide to creating a woodturning project from scratch, starting with the essential tools and materials, all the way through to the final steps. Whether you’re a novice or a seasoned woodworker looking to explore this exciting arena, you’ll find valuable tips and insights here to bring your woodworking dreams to life. With step-by-step instructions and a focus on understanding the intricacies of the lathe, you’ll be well-prepared to embark on your own woodworking journey.
Introduction: Wood Turning 101 – What You Need to Know to Get Started on the Lathe
Woodturning is a unique form of woodworking where a lathe holds and spins a piece of wood, allowing the turner to shape it into different forms with various tools. Much like sculpting, it’s about subtracting material, but with the potential for creating functional items like bowls and vases, or purely artistic pieces.
The appeal of woodturning lies in its blend of artistry and technical skill. As you become more familiar with the lathe and your tools, you’ll learn to develop your style and techniques. Safety is paramount, and understanding the fundamentals of the craft will set you on the right path.
Before you begin, it’s important to have a good grasp of basic safety rules, the functionality of the lathe, and the variety of tools you’ll need. This introductory understanding will form the foundation for your successful and safe foray into woodturning.
Step 1: Getting Started
Starting your woodturning journey begins with understanding the space and the setup you’ll need. Ensure you have a stable workbench and adequate lighting. The workspace should be free of clutter, allowing you to move freely and safely.
Next, familiarize yourself with the lathe. Watch informative videos, attend workshops, or take a beginner class to understand its functionality better. Knowing terms like spindle, headstock, and tailstock will prepare you for the practical steps ahead.
Finally, begin with a project that suits a beginner’s skill level, such as a simple wooden bowl or a spindle-based object. This will provide a practical, hands-on introduction to handling wood and using the lathe.
Step 2: Tools & Accessories
Essential tools for woodturning include gouges, scrapers, and parting tools. Gouges help in removing material quickly, shaping curves, and finishing surfaces. They’re versatile and come in various sizes to match the workpiece.
Scrapers are used for fine-tuning and achieving the desired surface finish, whereas parting tools are vital for cutting and shaping intricate details. As a beginner, investing in a starter set of these tools can get you off to a great start.
Additionally, protective gear like goggles, dust masks, and hearing protection are required to ensure safety throughout your work. Maintaining sharp tools and a tidy workbench not only prolongs the lifespan of your tools but also enhances the quality of your work.
Step 3: Steps to Using the Lathe
Mount your selected piece of wood firmly onto the lathe’s headstock. Ensure it’s centered to avoid vibrations during turning. Double-check the lathe’s speed settings before powering it on, keeping the speed low initially.
Using your tool of choice, gently engage the wood, removing layers to form the initial shape. Apply even pressure and continuous, controlled passes. Experiment with different angles and depths to define your piece’s unique features.
Once you’ve shaped your wood, use finer tools and sandpapers to refine the surface. Sand along with the grain and gradually move to finer sandpaper for a smooth finish that brings out the wood’s natural beauty.
Step 4: What Type of Wood to Turn
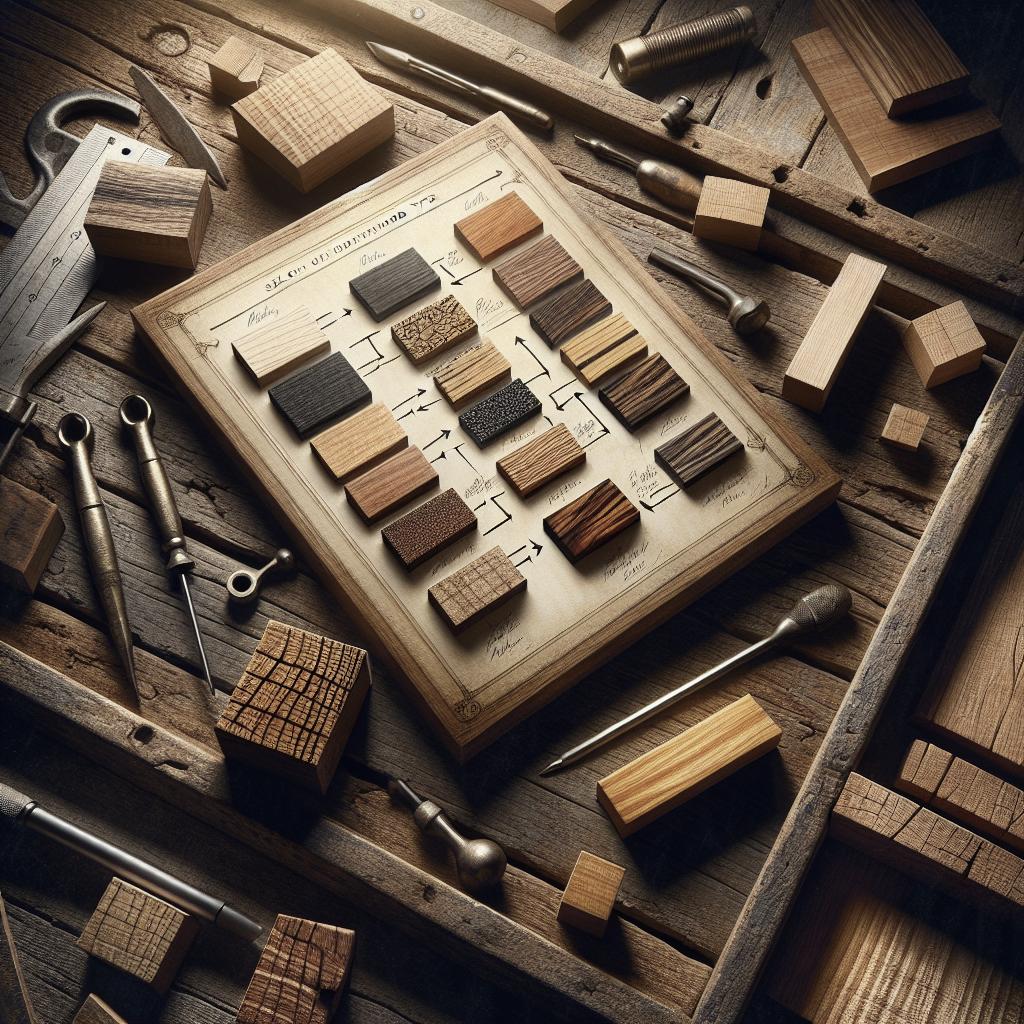
Choosing the right wood greatly impacts your project’s outcome. Softwoods like pine are easier to work with and ideal for beginners who are getting accustomed to the tools. As your skills progress, hardwoods like oak, maple, or cherry will offer more durability and a finer finish.
Each wood type has unique characteristics and grains, affecting the final look and feel of your project. Experiment with different woods to learn how they behave on the lathe, recognizing that harder woods might require sharper tools and more patience.
Remember to always consider the end use of your project when selecting wood. If you’re making items that require structural integrity or a certain aesthetic, such as furniture or decorative pieces, selecting the appropriate grade and species of wood is crucial.
Step 5: Why Get a Lathe?
Owning a lathe opens up a world of creative possibilities. It allows you to transform ordinary wood into custom, hand-crafted items, whether for personal use or gifts, and enhances your ability to create intricate designs that a typical saw cannot achieve.
Woodturning is not only a fulfilling hobby but can also become a lucrative craft if you decide to sell your creations. Custom, handmade items are highly valued and sought after for their unique personal touch and craftsmanship.
Investing in a lathe means investing in your skills and creative outlet. While it requires practice and dedication, the rewards of seeing your ideas come to life in tangible form are enormously satisfying.
Step 6: Next Steps – Watch the Video!
As you contemplate your next woodworking project, take some time to delve into more resources, take notes from experienced turners, and watch demonstration videos to gain new insights and techniques. You’ll find that visual learning can significantly enhance your understanding and practical skills.
Trying different types of projects will expand your skills and inspire creativity. Don’t be afraid to experiment with new wood types and designs, as this is how your unique style will develop with each piece you create.
Remember, the journey of woodturning is about continuous learning and enjoyment. Whether it’s a relaxing hobby or a creative business endeavor, the possibilities are endless with the right mindset and tools at your disposal.
| Topic | Key Points |
|---|---|
| Wood Turning 101 | Understanding the lathe and essential safety measures |
| Getting Started | Setting up the workspace and choosing an entry-level project |
| Tools & Accessories | Essentials like gouges, scrapers; importance of protective gear |
| Steps to Using the Lathe | Mounting wood, creating shapes, and refining with sandpaper |
| Wood Selection | Impact of different wood types, with a focus on beginner options |
| Reasons to Get a Lathe | Creative potential, craftsmanship, and personal satisfaction |
| Next Steps | Exploring further resources and enhancing skills through practice |
“`