“`html
How to Design and Build a Custom Wooden Table
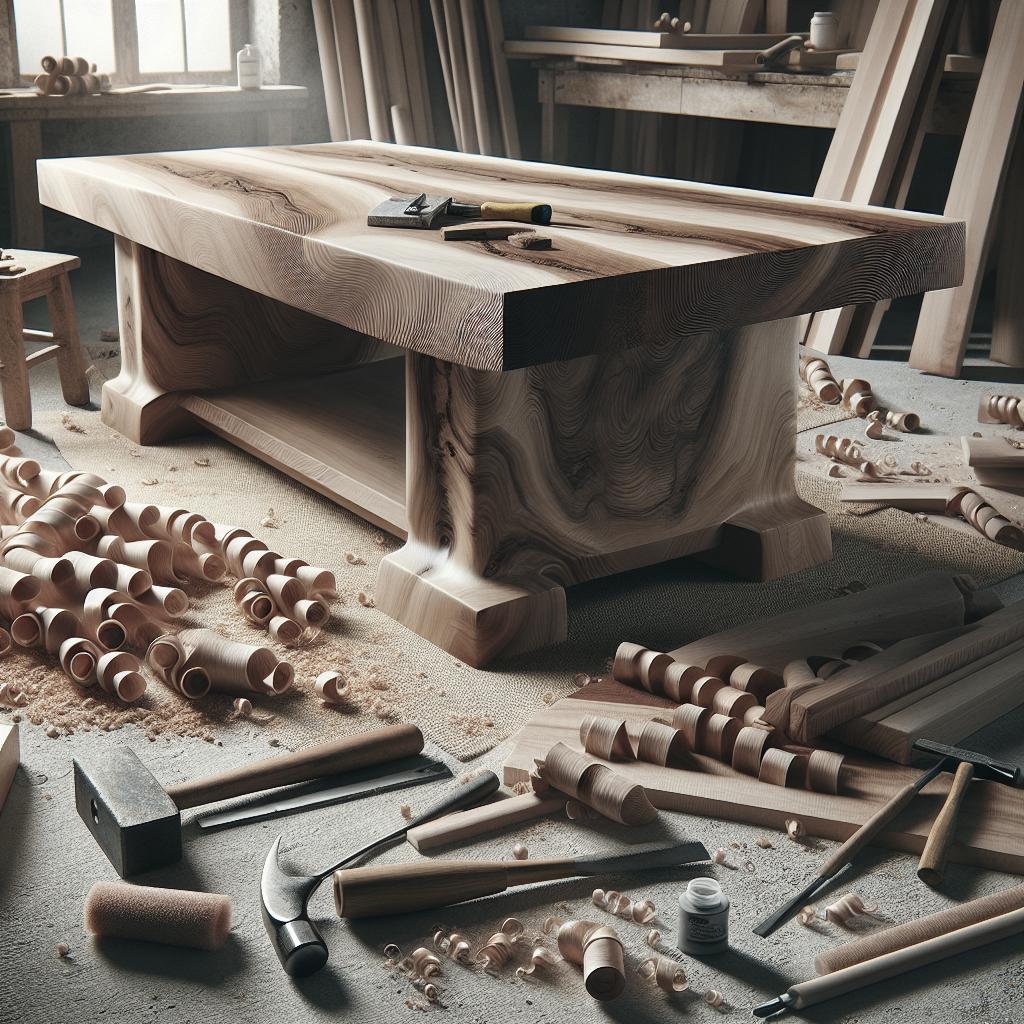
Designing and building a custom wooden table is a rewarding project that allows you to create a unique piece perfectly suited to your style and needs. This guide will take you through each step of the process, from selecting materials to putting together the final product. We will discuss necessary tools and materials, provide notes on the build process, delve into lumber choices, sizing, and finishing touches. Whether you’re an experienced woodworker or a DIY enthusiast, this comprehensive guide will help you bring your custom dining table to life.
Tools and Materials:
Before embarking on your DIY table project, gathering the right tools and materials is essential. Basic woodworking tools such as a saw, drill, and clamps will be necessary. For a more polished finish, consider tools like a router and sander. Don’t forget measuring tools like a tape measure and a square for precision in your design.
In terms of materials, your primary consideration will be the wood. Choose high-quality hardwood for durability, complemented by wood glue, screws, and a durable finish like varnish or oil. It’s wise to prepare a shopping list beforehand to ensure you have everything you need, minimizing disruptions during the building process.
Some Notes About the Modern Dining Table Build:
Lumber Choices:
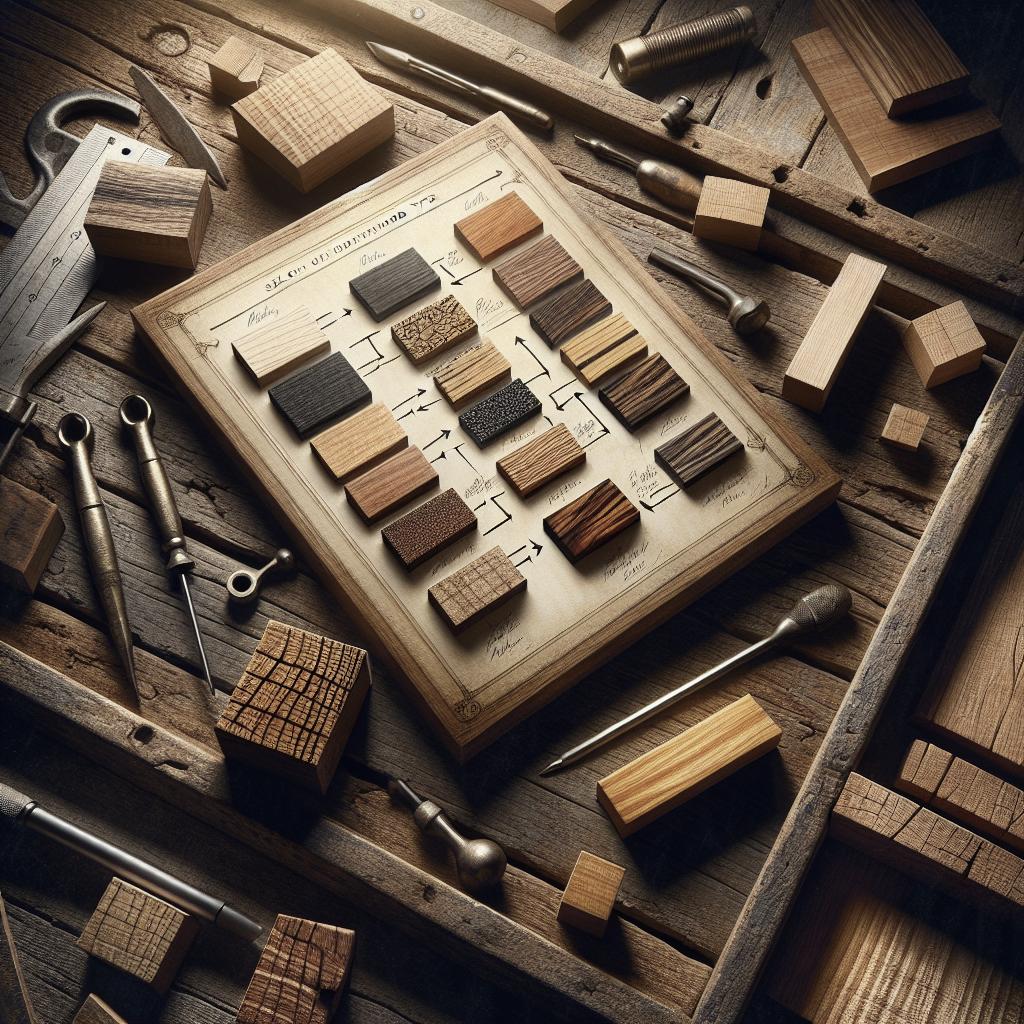
When it comes to lumber, your choice will significantly impact both the table’s aesthetics and longevity. Popular choices for a modern dining table include oak, walnut, or maple for their blend of durability and natural beauty. Each type of wood offers different grains and coloration, allowing you to match it with your home’s decor seamlessly.
Consider the wood’s origin and sustainability as well, opting for eco-friendly certified lumber when possible. Buying locally sourced wood can also add a personal touch, enhancing the story behind your custom table.
Table Sizing:
The size of your table will be determined largely by the intended use and available space. Standard dining tables accommodate between four to six people comfortably, but your needs may vary. Carefully measure your dining area, leaving ample room for movement and chairs.
It’s important to balance the dimensions so that the table isn’t too large, overwhelming the room, or too small, losing functionality. Consider the height in relation to typical chair sizes to ensure comfortable seating.
Table Top Boards:
The top of your table is perhaps the most important visual element, so choose your boards wisely. A seamless table top can be achieved by using longer boards with minimal knots, or opt for a butcher block style with visually striking edge grain patterns.
Consider using boards of varying widths for added visual texture, ensuring all wood is properly acclimated to your environment to prevent warping in the future.
Leg Size:
The size and style of your table’s legs should complement the overall aesthetic. For a modern look, consider sleek, straight lines with a sturdy build. The leg width should provide stability, especially with larger tables.
Remember that the legs must support the weight of the table top, so use solid, robust wood. Tapered legs can add a touch of elegance without sacrificing strength.
Some links you may find helpful in the building process:
- Woodworking Network – Great resource for woodworking tips and trends.
- Popular Woodworking Projects – A collection of various DIY woodworking plans.
- This Old House – Offers a wide range of tutorials and ideas for home projects.
Step 1: Determine Your Dining Table Size
Start by determining the dimensions for your table, taking into account the number of seats needed and the flow of the room. Use tape to outline the space on your floor to visualize the size. Standard tables are about 30 inches tall, but you can adjust as needed.
Tables generally require at least 24 inches of width per person for comfortable seating, with more space needed for additional pieces like tableware. Adjust these parameters to fit your space and lifestyle needs.
Step 2: Glue Up Dining Table Top
With your table top boards selected, it’s time to assemble them into a cohesive surface. Position the boards edge to edge, arranging any knots or favorable grain patterns attractively. Apply wood glue between the edges and use clamps to hold them in place, ensuring alignment and a tight fit.
Allow ample drying time for the glue—usually overnight—before removing the clamps. Sand the surface thoroughly after the glue has set, ensuring a smooth, even finish.
Step 3: Assemble Dining Table Legs
Cut (Optional) Rabbet for Table Apron
If your design includes a table apron, cut a rabbet into the legs where the apron will sit. This provides added alignment and strength. A router or table saw can make this process easier, resulting in cleaner cuts and a professional look.
Glue Table Legs Together
To assemble the legs, cut the wood to your predetermined dimensions, aligning them for uniformity. Apply wood glue at the joints and secure them with clamps to maintain tight, secure connections. Allow them to dry completely before continuing.
Step 4: Trim and Prep the Table Top
Trim any uneven edges from your table top using a saw to achieve the desired dimensions. Sand down the edges to remove roughness, preparing the surface for finishing. Also, consider adding rounded or beveled edges to enhance the tabletop’s aesthetic appeal.
Ensure all surfaces are smooth and even, removing any excess glue or debris. This step is crucial for an attractive, professional finish and excellent usability.
Step 5: Assemble DIY Modern Dining Table Apron
The table apron is a structural component that connects the legs to the table top, providing additional stability. Cut the apron’s components to fit within the leg configuration, joining them with mortise and tenon joints or metal brackets for enhanced security.
Clamp the pieces in place, ensuring a level, square fit. Sand the apron and inspect for any rough edges or misalignments, correcting them before attaching it to the rest of the table.
Step 6: Attach Apron to Dining Table Legs
Carefully align the apron with the pre-cut rabbets in the table legs, using wood screws or dowels for a secure fit. Check that the structure is level and square before fully securing the connections.
This step requires precision—any misalignment can affect the table’s stability and aesthetics. Double-check measurements and alignment before proceeding.
Step 7: Finish Table As Desired
Finish your table using varnish, oil, or stain to protect the wood and enhance its natural beauty. Test your chosen finish on a scrap piece to ensure you’re satisfied with the look. Apply several coats, allowing each to dry thoroughly in between applications.
The finish is not only aesthetic but functional, safeguarding against spills and scratches. Keep in mind the use case of your table when choosing a finish, opting for durability in high-traffic areas.
Step 8: Attach Table Top to Table Base
Position the table top on the base and ensure it’s centered and balanced. Secure the top using brackets or figure-eight fasteners to allow for natural wood movement and prevent future warping.
Achieving the final assembly marks a significant milestone. Ensure all components are tightly secured while maintaining the table’s structural integrity.
Related Posts:
Future Prospects
| Step | Summary |
|---|---|
| Step 1 | Determine table size based on needs and available space. |
| Step 2 | Assemble and glue table top boards, ensuring a seamless surface. |
| Step 3 | Cut and glue table legs, including an optional rabbet for aprons. |
| Step 4 | Trim and smooth the table top, preparing it for finishing. |
| Step 5 | Assemble the table apron for added stability and support. |
| Step 6 | Attach the apron to the table legs with precision and care. |
| Step 7 | Apply the finish of choice to protect and enrich the wood. |
| Step 8 | Secure the table top to the base, completing the assembly. |
“` This article provides a detailed walkthrough for crafting a custom wooden dining table, covering everything from initial planning to the final assembly. The process highlights key considerations, ranging from practical aspects like material selection and sizing to design elements that personalize the finished piece. The HTML table at the end summarizes each step’s key points, reflecting a logical, progressive approach to DIY furniture building.