“`html
Introduction: Creating Decorative Inlay
Wood inlay is a timeless art form that can elevate furniture from simple to spectacular. Whether you’re a craftsperson eager to experiment or a seasoned woodworker looking to expand your skills, this guide provides a comprehensive step-by-step process for creating intricate and beautiful inlays. We’ll delve into materials selection, the tools you’ll need, and the techniques required to bring your design to life. With patience and precision, inlaying offers a rewarding way to personalize your wooden creations.
Step 1: Selecting Materials & a Design
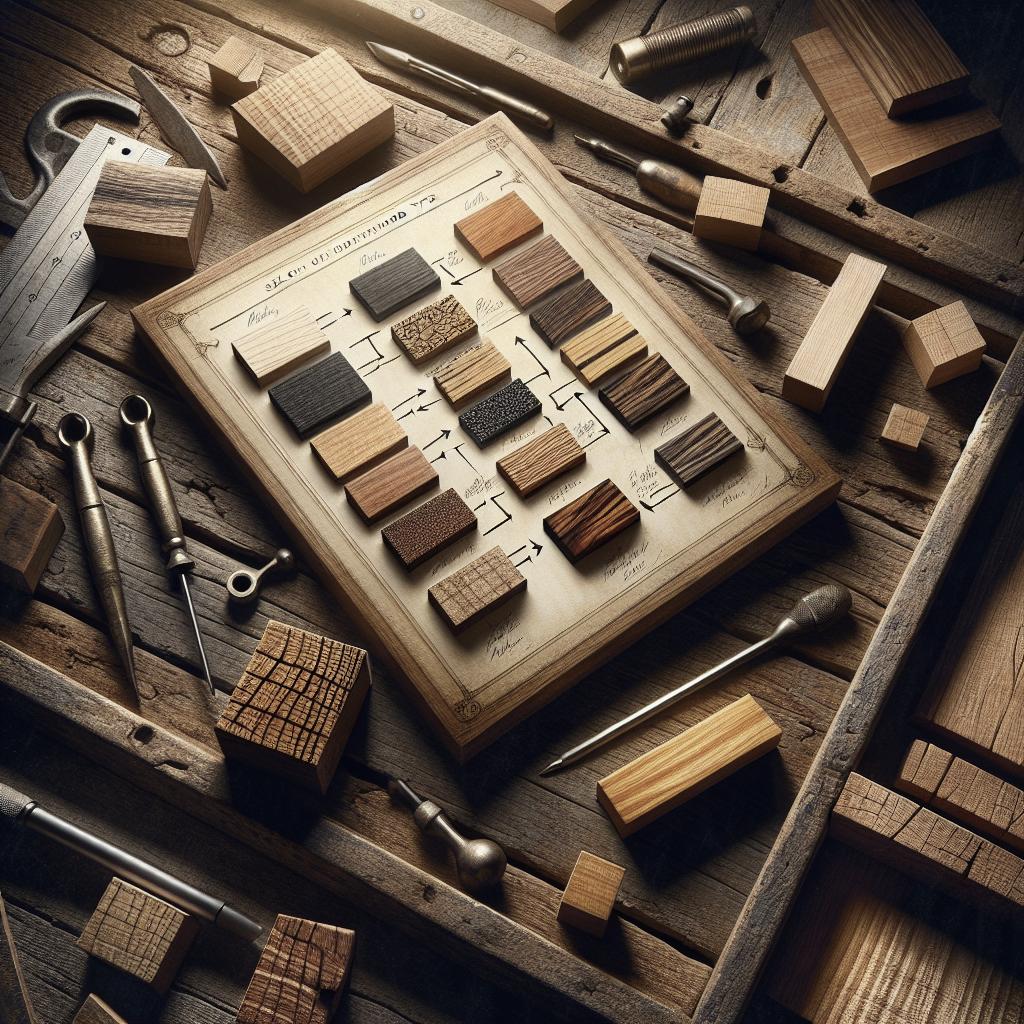
Starting with the right materials is crucial in creating successful wood inlays. Typically, the choice includes contrasting woods such as maple and walnut to make the design pop. For a more exotic touch, consider using materials like ebony, ivory, or even metal and stone. The thickness and type of the wood should also align with your design intentions and the furniture’s functional requirements.
Your design is the centerpiece of your project. It can be a simple geometric shape or a complex motif depicting nature or abstract art. Be sure to sketch your design first, considering the size, scale, and complexity. This sketch will guide your cutting and inlaying, ensuring precision and coherence from start to finish.
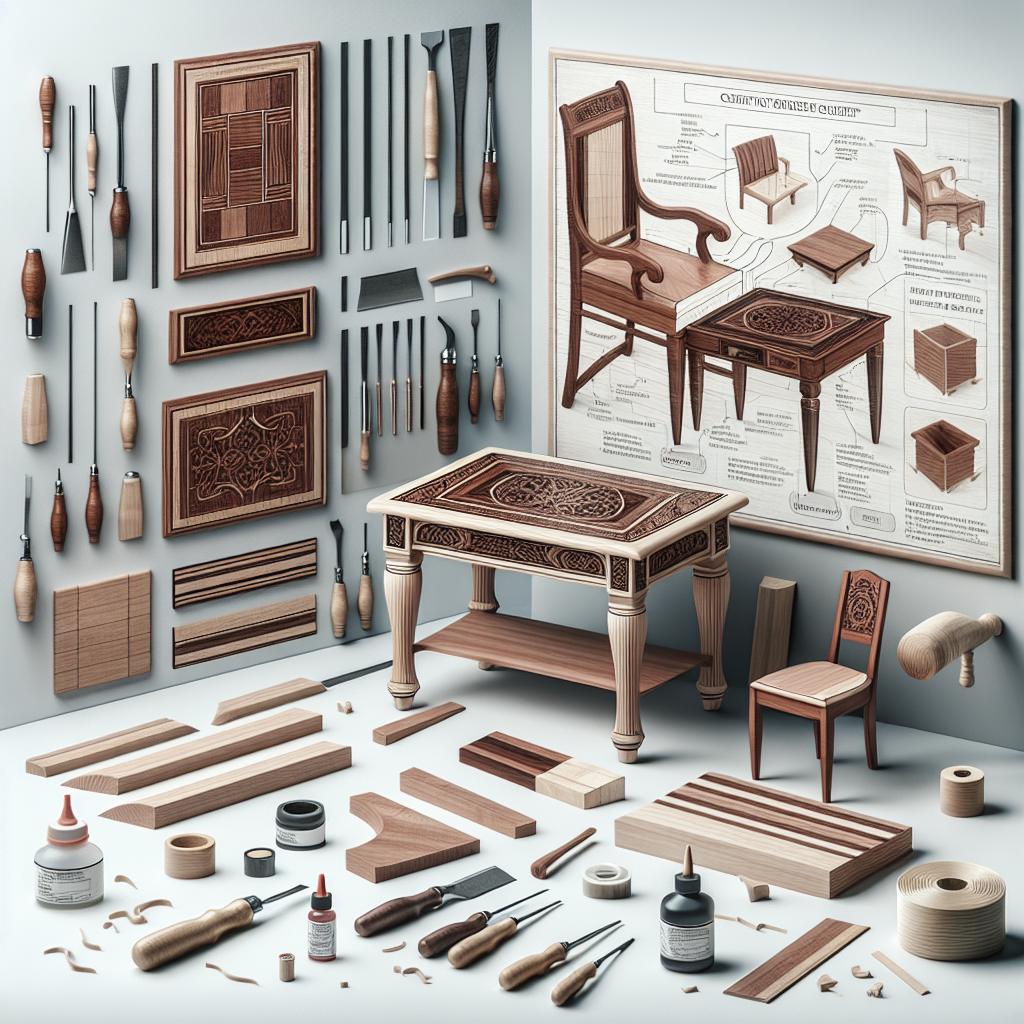
Step 2: The Tools
Equipping yourself with the right tools is the next step towards a successful inlay project. Essential tools include a sharp utility knife, precision saws, and chisels for cutting and shaping the inlay pieces. A router can be essential for carving out the recess in the base wood where your inlays will reside.
You’ll also need a selection of sandpapers ranging from coarse to fine grit to smooth the finished surface. Alternatively, micro files are excellent for detailed and intricate areas, ensuring that every piece fits perfectly into its predefined place in your design.
Step 3: Getting Started
Begin by transferring your design onto the base wood. Use carbon paper to trace your design onto the surface, ensuring every line is clear and concise. This outline will serve as the guideline for your recess creation. With the design laid out, start carefully carving out the recess using a router or chisels, matching the depth to match the thickness of your inlay material.
The key here is precision; take your time, ensuring each cut is clean and accurate. Once recessed, test fit your inlay pieces to ensure snugness. The goal is a seamless fit with minimal gaps that would compromise the final aesthetic.
Step 4: Other Materials
Wood isn’t the only material suitable for inlays. You can experiment with metals like brass or copper for a modern touch, creating a stunning contrast with the natural grain of wood. Stones such as turquoise or mother-of-pearl can also be inlaid, providing an elegant and exotic appearance.
These alternative materials often require specialized tools and techniques – for example, metal may need finer cutting tools, and stone requires adhesive appropriate for its weight and texture. Always test your methods before applying to ensure compatibility and durability.
Step 5: Other Colours
Introducing color into your inlays via stains or dyed woods can further customize the aesthetic of your project. Select hues that complement or contrast with the base wood to enhance the visual impact. When using stains or dyes, apply them to the inlayed pieces before embedding them into the wood to avoid color bleeding into unwanted areas.
Achieving the perfect color requires experimentation and testing. Create small samples to see how the colors interact with your chosen woods under different lighting conditions, ensuring the finished piece satisfies your vision.
Step 6: Inlaying the Finished Design
With the design carved and the inlay pieces prepared, the next task is the actual inlaying. Apply a thin layer of wood glue or adhesive into the recess. Carefully place the inlay pieces into their respective positions, pressing gently to secure them. For complex designs, work in stages, allowing each section to dry thoroughly before moving on to the next.
Let the inlay settle and cure fully. Sand the surface gently to flush down any raised areas, ensuring a smooth transition between the inlay and the surrounding wood. Polishing with a fine grain sandpaper finalizes the seamless integration, highlighting the intricate details of your design.
Step 7: Finished Product
Once the inlay is complete and the surface polished, consider protecting your finished product with varnish or polyurethane to enhance its durability and luster. These layers not only protect the wood but also add depth to the inlays’ appearance, making the design pop.
Admiring the final product can be immensely satisfying, seeing each carefully crafted piece seamlessly integrated into the wooden surface. Each inlay project not only showcases artistic talent but also increases the value and uniqueness of wooden furniture, blending functionality with art.
Lessons Learned
| Step | Key Takeaway |
|---|---|
| Selecting Materials & a Design | Choose contrasting materials for impact and ensure the design is well-planned for clarity and execution. |
| The Tools | The importance of precision tools cannot be overstated; they are essential for creating perfect fits. |
| Getting Started | Careful preparation and carving ensure that the inlay process is smooth and integrated seamlessly. |
| Other Materials | Experimenting with materials beyond wood broadens the creative scope, but requires specific tools. |
| Other Colours | Color and finish experimentation is vital; test before final application to ensure satisfaction. |
| Inlaying the Finished Design | Meticulous placement and curing are critical for a seamless and durable design integration. |
| Finished Product | Finishing touches like varnish protect and accentuate the beauty of the inlay work. |
“`