“`html
Introduction: Getting Started With Wood Turning. (Tools, Techniques, and Top Tips)
Woodturning is not just an art; it’s a passionate journey of crafting unique wooden pieces that combine utility and beauty. If you’re venturing into the advanced realm of woodturning or eager to enhance your skills, you’ll be pleased to know that the tool set is your best ally. In this comprehensive guide, we’ll delve into the array of tools fundamental to advanced woodturning, from essential safety gear to the intricacies of lathes and chisels. Whether you’re preparing for spindle work or aiming for the perfect bowl finish, understanding and mastering these tools will elevate your craftsmanship. Let’s explore the exciting world of woodturning techniques, tips and tools to transform your woodturning projects.
Step 1: So… What Is Wood Turning?
At its core, woodturning is the art of shaping wood using a lathe. The wood is rotated at high speed while the turner uses various tools to cut and shape the piece into the desired form. Though seemingly simple, the craft demands precision and creativity, as well as an understanding of wood’s inherent characteristics.
Historically, woodturning has been used to create practical items ranging from furniture components to kitchen utensils. However, in modern times, it’s equally celebrated as an art form with many turners crafting intricate decorative pieces. Success in woodturning resides in the mastery of both technique and the diverse tools essential to the trade.
Step 2: Personal Protective Equipment (PPE)
Safety is paramount in woodturning; therefore, a careful turner must always gear up with the appropriate personal protective equipment. Essential PPE includes safety goggles to shield your eyes from flying debris and dust masks or respirators to filter out harmful particles produced during the turning and sanding processes.
It’s also advisable to wear ear protection around the lathe, as prolonged exposure can lead to hearing damage. Furthermore, wearing protective, non-loose clothing and shoes can prevent accidents caused by wearable items entangling with the rotary components of the lathe.
Step 3: Lathe Safety
Lathe safety encompasses predicting potential hazards and preemptively adapting safety protocols to mitigate risks. Regular maintenance of your lathe should be performed, with attention to the firm seating of all components and the timely replacement of worn-out parts.
Additionally, one should always ensure that workpieces are securely mounted before turning starts. This prevents workpiece dislodgment and protects both the lathe operator and the machine. Remember that a respectful operation, acknowledging the raw power of these machines, encourages a safe working environment.
Step 4: The Tool Thing
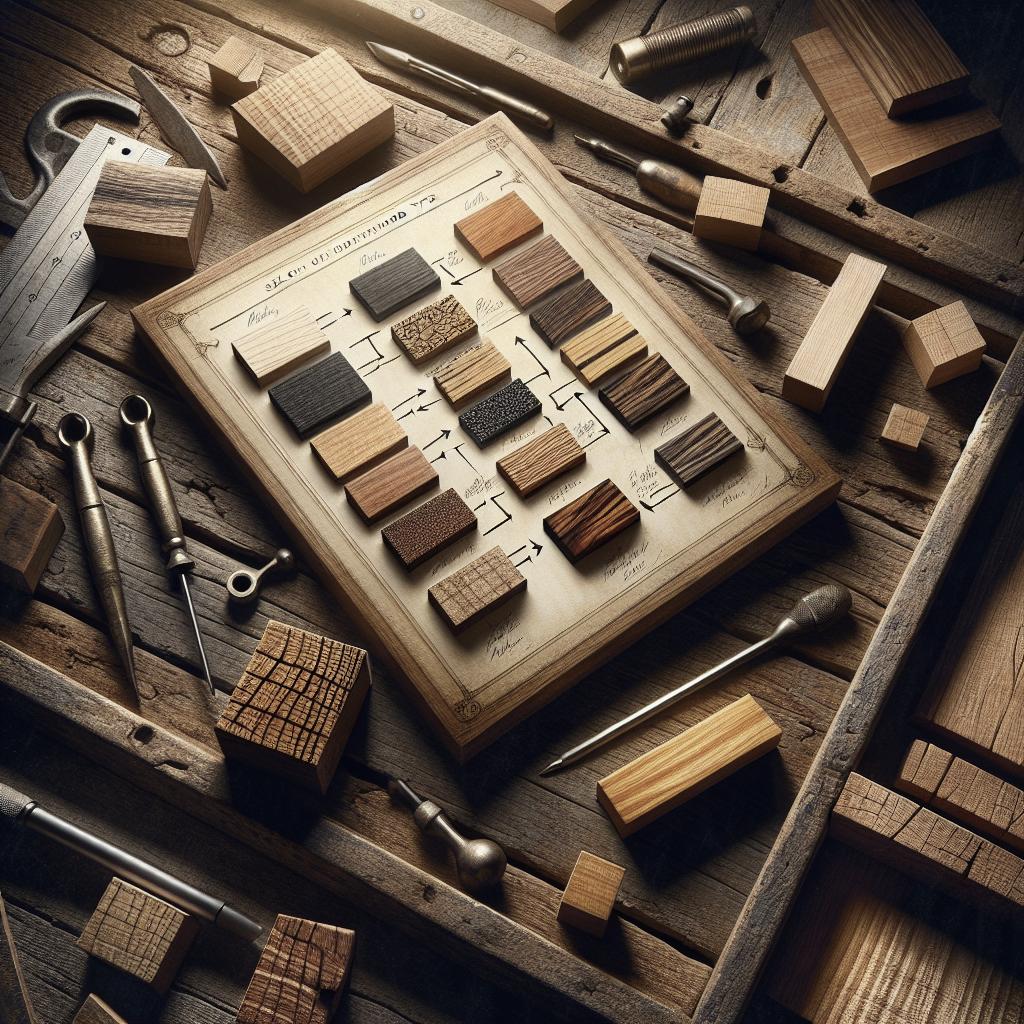
The assortment of tools available to a woodturner can seem daunting, but choosing the right tool for the specific task is essential. Each tool possesses unique strengths to address different cutting styles, materials and complexity.
Investment in quality, well-balanced tools pays off in long-lasting performance and ease of use. Woodturners should gradually build their tool library, selecting tools suited to the specific styles and wood species they prefer to work with.
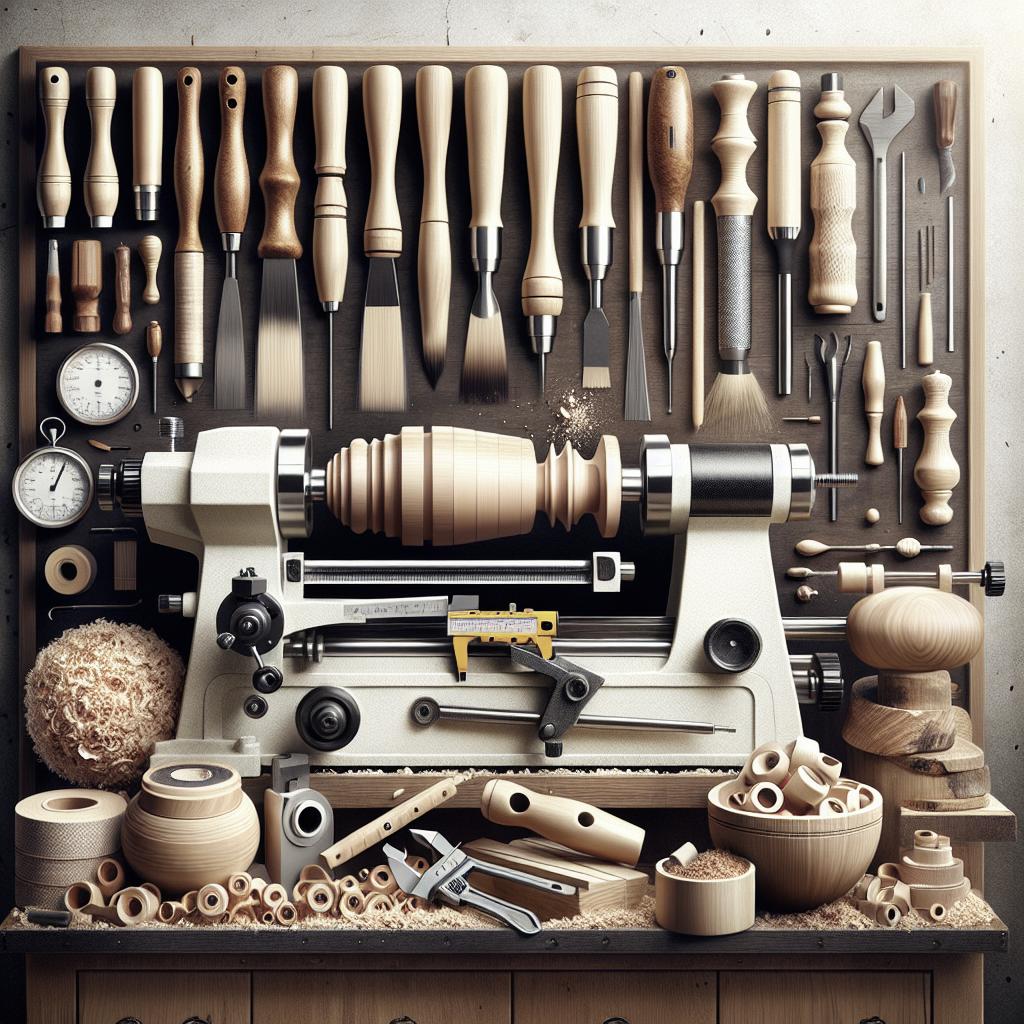
Step 5: The Lathe
At the heart of woodturning is the lathe, the pivotal piece of machinery that holds and spins the wood workpiece. Lathes come in various sizes and complexities, catering to both beginners and seasoned professionals.
For advanced woodturners, upgrading to a variable-speed lathe provides unparalleled control over the turning process. Additionally, the inclusion of features such as electronic control can drastically improve precision and efficiency.
Step 6: Chuck
Chucks play a critical role in securely holding the wood piece in place as the lathe operates. They allow for precision turning by ensuring minimal play or slip as turning operations unfold.
Available in diverse styles, such as scroll chucks or faceplate-mounted chucks, choosing the preferable chuck type largely hinges on the project requirements. Investing in a reliable chuck ensures consistent results and safety during the woodturning process.
Step 7: Spindle Roughing Gouge
The spindle roughing gouge is a fundamental tool in shaping wood from its rough exterior to an initial cylindrical shape. These tools come with wide, sturdy blades designed to handle the rigidity of rough wood.
Woodturners rely on spindle roughing gouges to quickly and efficiently remove material. Mastering control over this tool sets the foundation for smoother transitions for more precise chisels and gouges.
Step 8: Spindle Gouge—Sometimes Known As a Shallow Fluted Gouge
The spindle gouge is lauded for its versatility in creating intricate designs and refined detail in spindlework. With its shallower flute, it grants greater control over more refined finishes.
Ideal for use on table legs, candle holders and chair spindles, spindle gouges allow cutting into intricacies unattainable by other tools. Practicing with spindle gouges enhances the turner’s ability to craft delicately detailed surfaces.
Step 9: Skew Chisel
The skew chisel earns its place as one of the most challenging tools to master yet remains irreplaceable for achieving smooth finishes on spindle work. Characterized by bevel-edged blades, these chisels permit versatile cutting angles.
Proficiency with the skew chisel results in lustrous, clean cuts on spindle surfaces. While some turners initially find its use intimidating, perseverance and practice transform the skew chisel into a formidable ally.
Attachments
Skew chisels can also employ attachable parts, such as radiused skews and additional grips. Attachable features cater to handling variations and can optimize performance for specific project demands.
Step 10: Parting Tool
The parting tool is indispensable for carving wooden sections apart, forming tenons and other separation maneuvers on the wood turner’s repertoire. Its sharp, pointy blade design minimizes wastage while parting.
Efficient utilization of the parting tool ensures seamless cutting shallow grooves, facilitating effortless segmentation and creating cherished patterns within the wood’s framework.
Step 11: Bowl Gouge
When it comes to bowl making, the bowl gouge is the quintessential tool every advanced woodturner requires. The deeper flute of these gouges specializes in reaching deeper into bowl interiors and executing aggressive cuts.
These gouges are not only reserved for bowl making but also effortlessly handle wide, sweeping curves in larger designs. Their build accommodates rigorous use, and each stroke is crafted full of controlled power.
Step 12: Swept Back Grind Bowl Gouge
The swept back grind variant of the bowl gouge adds efficiency to wood removal and lends versatility to a wide array of profiles. Its special blade tips enhance precise tracing and complex shaping.
Ideal for shaping bowl interiors or complex curved surfaces, mastering the swept back grind gouge broadens a woodturner’s creative capabilities while fostering increased confidence.
Step 13: Scraper
For tasks demanding exacting precision and intricate contours, reach for the scrapers. They excel in tidying up edges, refining finishing touches, and removing tiny ridges from gouges.
Despite their simplicity, scrapers empower woodturners in producing seamless finishes, thanks to their flat blades adapted for seated cuts. Masters of detail favor scrapers for their finishing finesse.
Step 14: Sharpening Your Tools
Consistently sharp tools enhance craftsmanship and result in smoothly finished products. Just as the lathe shoulders pivotal roles in woodturning, sharpening stones and grinder equipment ensure effective tool upkeep.
Regular sharpening sessions revitalize each tool’s cutting edge swiftly. It’s advised to practice sharpening techniques to not only extend tool lifespan but also ensure precision-driven woodworking escapades.
Attachments
Alternately, specialized grinding jigs can be used to maintain bevel angles and sharpening uniformity. Such attachments streamline sharpening routines to optimize time spent at the lathe.
Step 15: Two Types of Turning
Woodturners must discern between two primary varieties of turning: spindle turning and faceplate turning. Each type involves distinct techniques and serves different creative ends.
Spindle turning targets wood grain along the axis, producing symmetrical shapes fit for furniture and intricate spindle-based projects. Contrarily, faceplate turning targets cross-grain, producing sculptural shapes like bowls.
Step 16: Preparing for Spindle Work
Preparation is key in spindle work, honing techniques on long, cylindrical designs using properly designed tools. Critical initial steps include accurate blank measurements and obtaining uniform circular shapes.
Meticulously maintained equipment, paired with appropriate tool positioning and control, ensure an optimized, smooth execution. Spindle work embraces the beauty inherent in stylish symmetry.
Step 17: Face Plate Work
Faceplate turning ventures into more complex forms such as platters, bowls and artistic sculptures. Successfully executing faceplate work involves intricate internal hollowing and external shaping of symmetrical profiles.
A focus on precise sense of depth, understanding of material behavior and creative ingenuity fuels successful faceplate work characteristic of woodworking intensity.
Step 18: Sanding and Finishing
Sanding sequences follow meticulously positioned chisel work, bringing designs full circle. Sanding smooths rough areas, abating imperfections and preparing surfaces for finish application.
Concluding with finishes such as oil, wax or lacquer enhances aesthetic allure while protecting surfaces. Experimentation with finishes allows creative flair, elevating woodturning art piece completion.
Step 19: Showing Off
Completing a woodturned project instills a sense of fulfillment, as well as an opportunity to showcase one’s work. Whether through social media or local exhibitions, sharing both progress and results foster greater creativity.
Embrace new skill-building opportunities and networking within woodworking communities as a way to expand one’s knowledge area and learn from peers.
Step 20: Fancy Words
Woodturners often encounter industry-specific terminologies, grounding their communication within shared lexicons. Terms such as grain orientation, tenon formations and hollowing techniques bridge communication.
By familiarizing oneself with these terms, turners navigate discussions fluidly and pinpoint specific challenges or improvements during their craftsmanship journey.
Step 21: Additional Bits
Beyond the primary tools and techniques, woodturning benefits from supplemental accessories. Measurement devices, tool organizers, and lighting configurations enhance operational conditions and accuracy.
Profiling additional tool bits or unique finishes further amplifies project personalization. Experimenting and integrating personalized accessories reveal new creative possibilities awaiting exploration.
Final Thoughts
| Section | Content Summary |
|---|---|
| Introduction | Overview of the tools, techniques, and tips for advanced woodturning. |
| What Is Wood Turning? | Explanation of woodturning as an art and its historical significance. |
| Personal Protective Equipment (PPE) | Importance of safety gear to protect eyes, ears, and lungs during woodturning. |
| Lathe Safety | Introduction to lathe safety protocols and regular machine checks. |
| The Tool Thing | Insights on how to strategically select tools for different woodturning tasks. |
| The Lathe | Discussion on lathe features and importance in shaping wood. |
| Chuck | Exploration of chucks for gripping wood during turning. |
| Spindle Roughing Gouge | Role of this gouge in preparing wood blanks to cylindrical shapes. |
| Spindle Gouge | Use and benefits of the spindle gouge in adding fine details. |
| Skew Chisel | The challenge and advantages of mastering the skew chisel. |
| Parting Tool | Applications of the parting tool in creating separations and grooves. |
| Bowl Gouge | Importance in bowl crafting and deeper cuts through bowl gouges. |
| Swept Back Grind Bowl Gouge | Advantages of this grind for precision shaping and bowl work. |
| Scraper | Use of scrapers for added finishing finesse and precision cuts. |
| Sharpening Your Tools | The essential process of tool sharpening to ensure top performance. |
| Two Types of Turning | Differentiate between spindle and faceplate turning techniques. |
| Preparing for Spindle Work | Preparation steps and techniques for efficient spindle turning. |
| Face Plate Work | Approach and techniques for turning larger, face-grain pieces. |
| Sanding and Finishing | Procedures for rendering finished surfaces smooth and polished. |
| Showing Off | Encouragement to share completed projects and engage with communities. |
| Fancy Words | Understanding terminologies pertinent to advanced woodturning. |
| Additional Bits | Exploring additional tools and accessories to augment the woodturning experience. |
“`