“`html
Best Woodworking Projects for Beginners
Woodworking is a fulfilling hobby that allows you to create practical and beautiful items from wood. If you’re new to woodworking, starting with simple projects is crucial to building your skill set and confidence. In this guide, we explore a variety of beginner-friendly woodworking projects ranging from simple boxes to creative home decor and functional furniture. Each project can be completed with basic tools and offers an opportunity to practice fundamental techniques that every woodworker should master. Whether you’re looking to craft a wooden spoon the Viking way or turn a wooden pen on a lathe, this guide will inspire and guide you through your woodworking journey.
Techniques for Making a Few Simple Boxes
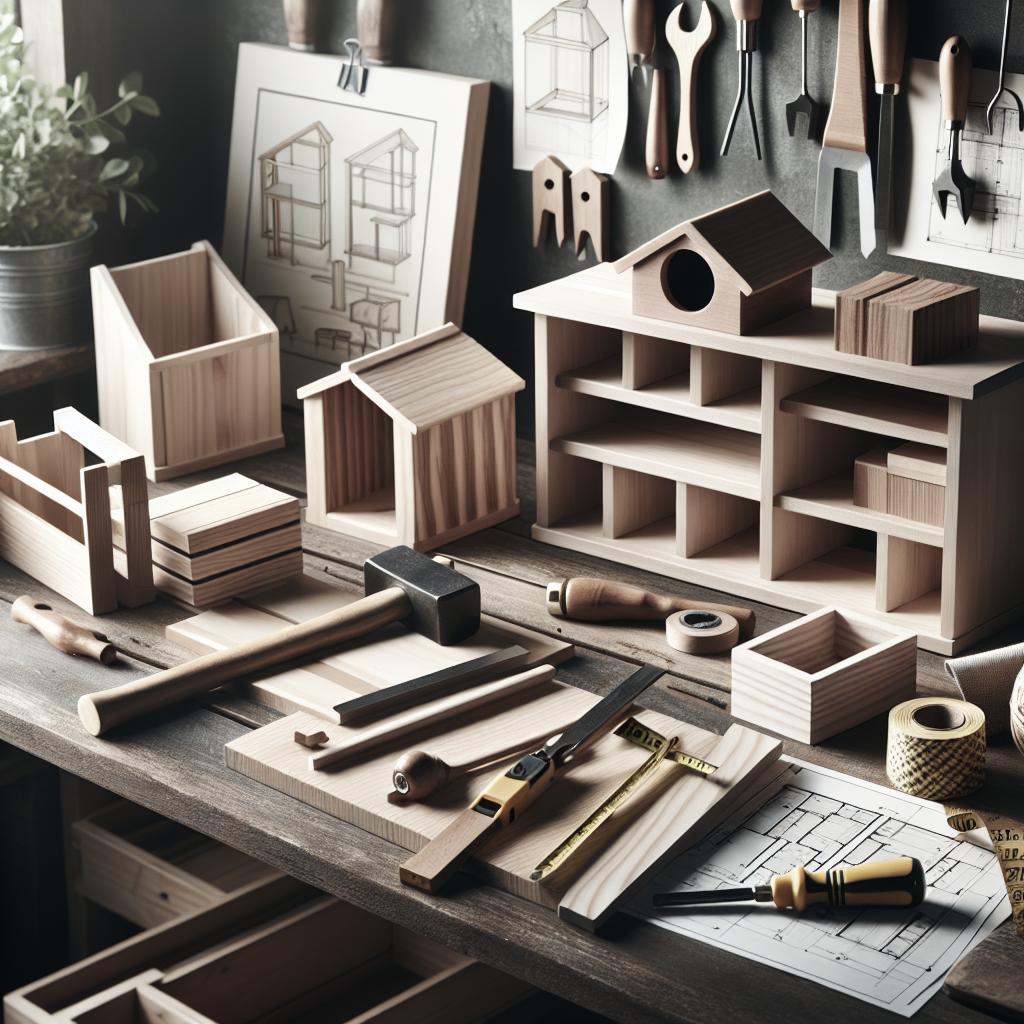
Creating simple boxes is an excellent starting point for beginners in woodworking. Boxes serve practical purposes and help build foundational skills such as measuring, cutting, and joining wood. With essential tools like a handsaw, chisel, and clamps, you can craft a box that opens up possibilities for more complex projects.
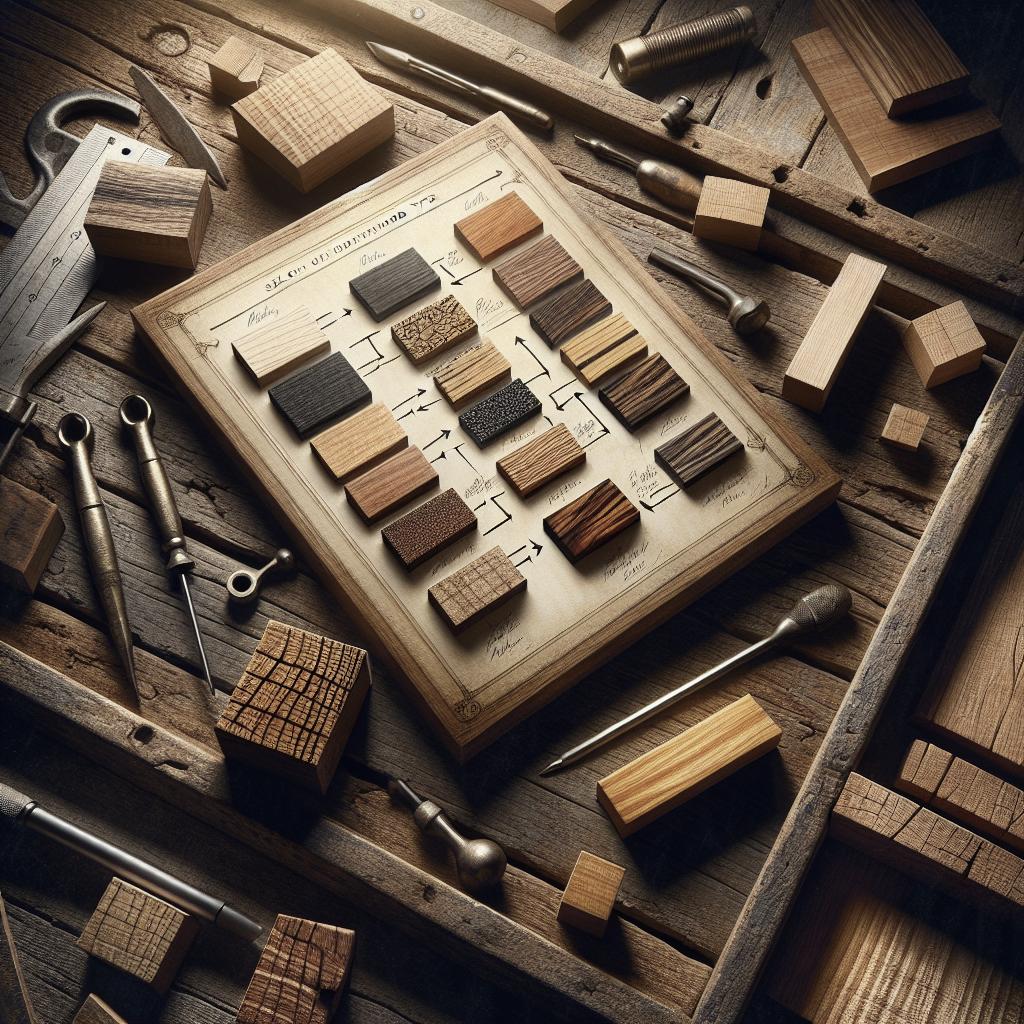
Start by selecting the wood type, considering factors like grain and durability. Pine, oak, or birch are good options for beginners. Use dovetail or finger joints for joining corners, which provide strength and a neat appearance. Sanding is crucial for a smooth finish, and sealing the wood will enhance its longevity.
Make a Quick Box Using Box Joints
Box joints offer a straightforward and robust method for creating strong corners. They’re easier than dovetails and provide a pleasing aesthetic. With a box joint jig, even beginners can achieve precise cuts, ensuring a snug fit between pieces.
Start by cutting all sides of your box to size. Use your jig to cut evenly spaced fingers and slots in the edges of the boards. With wood glue, assemble the box, clamping the corners tightly until it dries. Sand and finish as desired to protect your box.
Simple Storage Box
A simple storage box is not just a functional item but also a perfect project for honing your woodworking skills. Begin with measuring and cutting four equal panels for the sides and a piece for the base. Plywood works well for these types of boxes due to its versatility and cost-effectiveness.
Join the sides and the base using nails or screws. Optionally, add a hinged lid if you want a covered storage solution. Finish with a preferred stain and sealant to prevent wear and tear, giving your storage box a personalized touch.
How to Make a Stackable Wooden Storage Box
Stackable wooden storage boxes are both practical and rewarding to make. These are invaluable for creating organized spaces in your home. Cut pieces of equal size for all sides ensuring they are precise for the perfect stackable fit.
Joining the sides can be done using brackets or screws, prioritizing alignment and stability. Adding cleats inside the corners will further strengthen the structure allowing for flawless stacking. These boxes can be finished with a natural wood stain or painted for a pop of color in your storage spaces.
Wooden Beer Bottle Crate
A wooden beer bottle crate is perfect for transporting beverages and adds a rustic touch to any gathering. With sturdy handles and a reinforced base, these crates are designed to withstand heavy loads. Start with precise measurements to suit the size of standard beer bottles.
Use durable woods like pine or oak and cut the side slats, base, and dividers. Assemble using wood glue and nails, making sure to add handles for ease of transportation. A coat of varnish will protect the crate and accentuate the wood’s natural beauty.
Cedar Treasure Chest
Cedar’s natural aromatic qualities and resilience make it ideal for crafting a treasure chest. These charming boxes can be used to store jewelry, keepsakes, or as a decorative piece. Begin by designing a curved top, which gives the chest its iconic look.
You can join the pieces with wood screws and reinforce with brackets. Finishing with a polyurethane coat will protect your cedar chest while bringing out its rich hues and grain patterns. Adding a lock or clasp can also secure its contents elegantly.
Simple Plywood Box
A simple plywood box is one of the most versatile woodworking projects for beginners. Plywood’s affordability and ease of use make these boxes an ideal training ground for honing woodworking techniques.
Cut each side, base, and lid to your specified dimensions, ensuring clean, accurate cuts. Glue and nail the pieces together, adding a simple hinge if desired for the lid. Finish with paint or a clear sealant to protect against moisture and extend the box’s lifespan.
A Bandsaw Box KIDS Can Make
Bandsaw boxes are unique because of their contoured designs and the ease with which they can be made, even by kids. These projects require a bandsaw but are otherwise simple, needing no joinery.
Have your child design a simple shape, then cut it out using the bandsaw. Sand the edges smooth and hollow out the interior, keeping the original shape. Finish with a non-toxic stain to highlight their creativity.
Cub Scout Project: Wood Tool Box
A wooden tool box teaches kids the basics of construction, such as measuring, cutting, and assembling. Craft a small, portable tool box by providing pre-cut panels to fit together.
Use nails or screws for assembly, and incorporate a handle for portability. The simple design allows each scout to personalize their toolbox to suit personal needs, also offering a sense of accomplishment upon completion.
Wooden Beer Mug
A wooden beer mug combines functionality and charm, perfect as a novelty gift or for personal use. Start by selecting hardwood due to its strength and resistance to liquids. The mug construction involves joining staves – narrow, shaped strips – to form the body.
Turn the mug on a lathe to create a rounded shape, smoothing the interior and exterior surfaces. Fit a solid wood base with glue, ensure it’s watertight, and finish using a food-safe sealant to preserve the wood and ensure safe usage.
Wooden Airplane
Building a wooden airplane is a fun and imaginative project, ideal for introducing children to woodworking. Begin by designing an airplane blueprint or use an existing template to ensure accuracy in cuts.
Select lightweight woods like balsa for ease of shaping, then cut out wings, fuselage, and tailpieces. Sand to smooth and round the edges, then attach using wood glue. Paint the finished plane, taking care to create an appealing design.
Wooden Candle Holder
A wooden candle holder can add warmth and style to any living space. They’re simple to make and allow creativity in terms of design, whether it’s a rustic log holder or a modern geometric piece.
Select a block of wood or some branches with the right diameter for the candles. Use a drill press to create evenly spaced holes, sanding down any rough edges. Finish by applying paint or varnish to protect the wood and add aesthetic appeal.
Wooden Wardrobe
Building a wooden wardrobe might sound ambitious for beginners, but it’s a rewarding project that involves basic joinery and planning. Start by drafting a design that suits your needs, considering height, shelves, and hanging space.
Cut plywood or MDF for the structure, and use dados (grooved joints) for strength. The project requires attention to detail, especially when assembling doors with hinges. Finish the piece with paint or wood stain to enhance your craftsmanship.
Wooden Sheath for Cook’s Knife
A sheath protects the blade of a cook’s knife and is a practical project to refine precision work. Use hardwood such as walnut or cherry for durability, and ensure your knife fits snugly by thoroughly measuring dimensions.
Carve out channels for the blade and a split sheath design allows flexibility. Join the two halves using wood glue and clamps, sanding any rough edges. Finish with an oil coating to protect and enrich the wood.
Make a ‘natural Elbow’ Boomerang
Boomerangs offer an engaging way to practice your woodworking skills. A ‘natural elbow’ boomerang utilizes the natural bend of a branch for a unique design that can return when thrown.
Select a sturdy wood and cut the branch to a balanced shape. Carve it to make even, aerodynamic wings and sand smooth. Finish with varnish to protect from the elements, ensuring the boomerang’s longevity and usability.
Make a Boomerang That Actually Comes Back!
Constructing a boomerang that returns requires precise design and balancing. Use plywood or lightweight wood, cutting into a cross shape with symmetrical wings.
Shape the wings with a slight tilt to create lift, sanding for smoothness. Be thorough in balancing and testing your creation to achieve accurate flight. Consider painting it in bright colors for visibility.
How to Make a Bookshelf Mountain!
Bookshelf mountains are whimsical and artistic projects that challenge both aesthetic and utility. Use durable wood like oak, cut into staggered, triangular peaks to form mountain shapes.
Assemble the pieces into a cohesive unit, ensuring shelves are level for functionality. Paint in varying tones to depict mountains, or keep it natural with wood stain, adding a beautiful centerpiece to any room.
How to Make a Bowl From a Flat Plank
Creating a bowl from a flat plank demonstrates woodworking ingenuity. This project typically involves a lathe, perfect for beginners ready to try new tools. Select a hardwood like maple for durability.
Mount the plank onto the lathe and gradually shape it using a variety of gouges to ensure even thickness. Sand to a smooth finish and polish with food-safe oil, highlighting the wood’s natural patterns beautifully.
How to Make a Floating Wine Bottle Holder
A floating wine bottle holder functions as both art and practicality, seemingly defying gravity. Cut a piece of hardwood into a length with a precise angled cut for balance.
Drill a hole fit for the wine bottle neck near one end. The slight incline ensures stability, utilizing gravity and balance to hold a full bottle. Sand and finish with a rich stain or oil for an elegant touch.
How to Make a Wooden Spoon, the Viking Way
Crafting a wooden spoon Viking style involves rustic techniques and minimal tools. This project is great for those interested in traditional woodworking. Start by selecting a dense, food-safe wood, such as cherry or maple.
Utilize a carving knife, hatchet, and spoon gouges to shape your utensil, focusing on the spoon’s bowl and handle. Sand thoroughly for smoothness, finishing with food-grade oil to protect and preserve the wood.
How to Turn a Wooden Pen on a Lathe
Turning a wooden pen offers a great introduction to precision work and lathe use. Select a dense, attractive wood block that will provide aesthetic appeal and durability.
Mount the block on the lathe, shaping it with gentle, consistent pressure. Sand on the lathe for a fine finish, and apply a small amount of friction polish for sheen and protection. This project is quick but highly satisfying, perfect for creating personalized gifts.
DIY Wooden $5 iPad Dock / Stand
A wooden iPad dock not only provides functionality but can be made with minimal costs and tools. Begin by measuring and cutting a piece of wood to fit your iPad at a desired angle.
Create a groove wide enough to house the device securely and potentially allow charging cables if needed. Sand down all edges to remove splinters for a clean-handling device, and oil or paint for a finished look.
Bent Wood iPod Stand
A bent wood iPod stand employs the technique of wood bending, adding an elegant touch to your device’s resting spot. Use thin, flexible wood veneer, molding it to your desired shape using heat and moisture.
Let the wood dry in position and adhere using a strong adhesive. This project offers an opportunity to experiment with form and function, offering a chic, minimalist stand design ideal for any workspace.
Easy to Build WINE RACK
An easy-to-build wine rack is a practical and stylish way to store your wine collection. Cut wooden planks into long strips for the frame, and several shorter lengths for the shelves.
Attach the pieces securely using screws, paying attention to keeping the structure level. Stain or paint the wine rack to match your decor. This project teaches structure and offers a customized storage solution for home use.
Planter Boxes for Windows With Bars
Bringing nature indoors with planter boxes can positively impact your living space. Planter boxes for windows can be made from rot-resistant wood like cedar to endure outdoor exposure.
Measure and create a frame to fit snugly on your window, adding slats beneath to support planters. Finish with a weather-resistant stain or sealant, enhancing longevity while allowing for beautiful displays of greenery.
Building Plyometric Boxes (Plyo Boxes)
Plyometric boxes, designed for fitness workouts, can be easily constructed for personal use. Create robust boxes with plywood sheets, cutting into measured sizes to form cubes of various heights.
Use strong screws and wood glue to assemble, ensuring a stable and secure build. Sand edges to avoid splinters and finish with non-slip paint for safety. These boxes provide versatility for exercise and training environments.
Scrap Wood Cutting Board
A cutting board made from scrap wood highlights sustainability in woodworking. Collect hardwoods like maple, cherry, or walnut, aligning in a visually pleasing puzzle-like form.
Glue the pieces together, clamping until dry. Flatten the board with a sander, ensuring a smooth surface, and finish with food-safe oil to protect and highlight the contrasting wood patterns.
Awesome Cutting Boards!
Cutting boards are timeless projects with an endless array of customization options. Choose hardwoods known for density and grain beauty, such as walnut, cherry, or maple.
Design distinct patterns, like juice grooves or integrated handles, enhancing functionality and aesthetics. Seal with mineral oil to ensure food safety while preserving the board’s natural allure.
Solid Wood Frame
Constructing a solid wood frame provides a chance to learn precise cutting and joining. Pick a hardwood that complements your intended decor, such as oak or ash, with attractive grain patterns.
Cut your wood into precise lengths, mitering corners at 45 degrees for a snug fit. Join with wood glue and clamps, reinforcing with nails if preferred. Finish by sanding and applying varnish, adding both protection and polish.
Nice Candleholders From Scrap Wood
Utilizing scrap wood for candleholders marries sustainability with creativity. Select wood pieces of varied sizes, embracing their imperfections for a rustic charm.
Drill holes to fit candle bases, ensuring a stable hold. Sand and finish with beeswax or a clear varnish, enhancing their character while maintaining functional beauty — perfect for atmospheric lighting.
Picnic Table
Building a picnic table is a challenging yet rewarding project that combines comfort with practicality, offering a place for gathering outdoors. Begin by designing your table’s dimensions to suit your space needs.
Use lumber like cedar or treated pine for durability against the elements. Cut planks for the tabletop, legs, and benches, ensuring measurements are precise. Assemble the frame first for stability, followed by secure attachments for the top and seating. Sand smooth for a splint-free surface and finish with a waterproof sealant.
Building a Real Woodworker’s Workbench
A solid workbench is essential for any woodworker, providing a stable surface for projects. Crafting your bench allows customization in height, surface area, and tool storage.
Begin with a sturdy frame using heavy-duty timber, ensuring the bench withstands heavy workloads and vibrations from power tools. Attach a thick plywood or hardwood top for durability, and incorporate storage for tools underneath. Finish with a coat of varnish to protect your workbench and extend its lifespan.
Sliding Dovetail Bookends
Sliding dovetail bookends provide both practical function and a chance to refine joinery skills. Use dense wood like maple for durability and aesthetic quality.
Cut the base and sliding dovetail joints with precision, ensuring a tight fit. These bookends are adjustable, allowing for varying book sizes. Sand all surfaces smooth, finishing with a protective stain or varnish to showcase the wood’s natural beauty.
Make a Hide-a-Key (stash Spot)
A hide-a-key box provides a discreet solution for storing spare keys. This project involves precision cutting and assembly to ensure security and subtlety.
Select a weather-resistant wood, cutting into a hollow form that blends with outdoor fixtures. Use hinges or magnetic closures for easy access and seal with a water-resistant finish to protect against elements.
Wooden Ring
Crafting a wooden ring is a delicate task that results in a unique piece of jewelry. Choose a fine-grained hardwood, like maple or walnut, for aesthetics and strength.
Carve the ring by hand or using a rotary tool, focusing on maintaining symmetry and evenness. Sand down for comfort and finish with a natural oil or varnish, adding a glossy, protective layer to enhance the wood’s natural allure.
Band saw Taxidermy
Creating band saw taxidermy allows for artistic expression through stylized animal heads. Select a wood that carves well, such as basswood, to form the contours and details.
Outline the desired shape and use a band saw for cutting, followed by detailed carvings for texture. Paint or finish with natural stains to bring your piece to life, adding a quirky touch to any decor.
Fireplace Insert
A wooden fireplace insert adds warm, rustic aesthetics without function. This decorative piece is designed to mimic a genuine fire, typically using stacked logs or layered wood designs.
Consider durability and appearance when selecting wood, ensuring the final construct is fire resistant if you have a real fireplace. Finish with natural stain for beauty or paint for a more contemporary feel, providing the charm of a traditional hearth.
Rainbow Wood Magnetic Knife Strip
Transforming scraps into a colorful magnetic knife strip yields both function and flair for your kitchen. Gather wood strips, aiming for a contrasting palette to create a vibrant stripe pattern.
Embed strong magnets within the wood to securely hold knives, covering with an overlay for safety. Mount the finished strip on a wall, finishing with a food-safe varnish to protect the wood and maintain its rainbow of hues.
Lesson # Lessons Learned
| Project | Key Learning |
|---|---|
| Boxes | Introductory joinery techniques, precise measuring, and cutting. |
| Tool Box | Assembly and hardware application for practical projects. |
| Storage Solutions | Functional design and assembly for home organization. |
| Home Decor | Creative design and finishing techniques. |
| Functional Furniture | Holistic project planning and execution, including structural joints. |
| Advanced Projects | Use of specialized equipment and advanced techniques like wood turning. |
“`