“`html
How to Troubleshoot Common Issues in Woodworking Projects
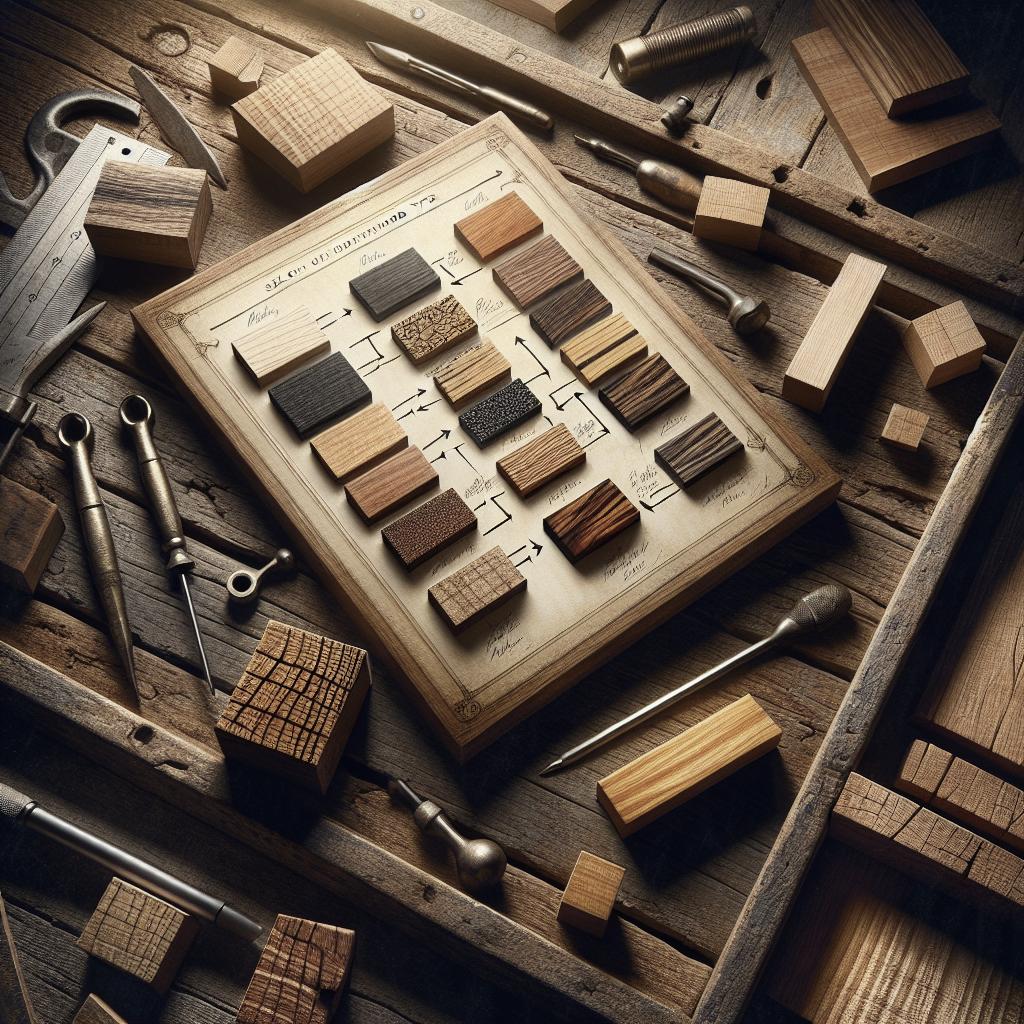
Woodworking is a rewarding hobby, but it can come with its fair share of challenges. Even seasoned woodworkers can run into issues that disrupt their projects, leading to frustration and wasted materials. This blog post will discuss some common problems encountered in woodworking projects and provide practical solutions to address each one. We’ll cover topics such as achieving the perfect finish, dealing with glue residue, accounting for saw kerf, and solving measurement inaccuracies. By understanding these challenges and learning how to troubleshoot them, you can enhance your woodworking skills and achieve the results you desire in your projects.
Subscribe
Before delving into the specifics, don’t forget to subscribe to our newsletter for more tips, tricks, and guides on woodworking and related crafts. Stay informed about the latest techniques and product reviews to bring your projects to life with precision and creativity.
Blotchy or Poor Finishes
A common issue for woodworkers is achieving a consistent and appealing finish. Blotchy finishes can be caused by uneven wood porosity, which makes certain areas absorb more stain than others. To combat this, it’s essential to prepare the wood properly before applying any finish. Start by sanding the surface thoroughly, using progressively finer grits, to even out the wood’s porosity. This creates a smooth, uniform surface that is better able to absorb the stain evenly.
When applying stain, use a pre-stain wood conditioner. This product helps regulate the absorption of the stain, ensuring a more even application. Follow up with a consistent application method, whether spraying, brushing, or wiping. Always wipe off any excess stain immediately to avoid pooling, which can lead to blotchy patches.
Should you encounter blotchiness despite preparation, you can lightly sand the dried finish and reapply another coat of stain. Sometimes, layering stains can help balance out uneven areas, giving your project a consistent and polished look.
Glue Residue
Glue residue on woodworking projects can ruin an otherwise perfect finish by preventing stains or finishes from penetrating the wood surface. The key to avoiding this is to identify and remove excess glue before it hardens. Upon applying glue, wipe away any excess immediately using a damp cloth or sponge. A utility knife scraper can also be used to gently remove dried glue without damaging the wood.
When joinery methods are particularly glue-intensive, consider using painter’s tape along the joints to catch any squeeze-out. Once all excess glue has been cleaned, check for remaining residue by misting the area with water, as this helps highlight any leftover glue spots that might go unnoticed when the wood is dry.
After ensuring the surface is free of glue residue, you can proceed with your preferred staining or finishing procedure. This diligence in preparation will yield a smooth, professional finish devoid of any undesirable glue marks.
Forgetting about the Saw Kerf
The term “saw kerf” refers to the width of the cut that a saw blade makes in the material. It’s a factor that, when overlooked, can lead to inaccurate cuts and ill-fitting pieces. To prevent this, always account for the saw kerf in your measurements. Before cutting, determine the thickness of your saw blade and add or subtract that width to/from your measurements accordingly.
This awareness not only ensures that your pieces fit together as intended but also minimizes material waste. When working with high-value or limited materials, the precision gained from accommodating for the saw kerf is indispensable. Developing this habit will greatly improve the accuracy and quality of your projects over time.
Dents in Wood
Dents in wood can occur during handling, assembly, or from accidental impacts. Depending on the severity, these blemishes can detract significantly from the appearance of your project. Luckily, many dents can be repaired easily without requiring complete reconstruction. A common method for lifting dents involves using moisture and heat.
Start by dampening the dent with a wet cloth. Then, apply a hot iron over the cloth, allowing steam to penetrate the wood fibers. This process causes the compressed fibers to swell and regain their original shape, effectively lifting the dent. Be sure to use a low iron setting to avoid scorching the wood, and test on an inconspicuous area first if uncertain of the wood’s tolerance to heat.
After handling dents, a bit of sanding to smooth the surface may be necessary before applying any finish or stain. This method is especially effective on unfinished wood and relies on the natural response of wood to heat and moisture, an insight that can transform minor mishaps into non-events.
Poor Measurement Tools
Accurate measurements are the backbone of any successful woodworking project. Yet, using poor or inaccurate measurement tools is a frequent mistake that can lead to costly errors and wasted material. Always ensure that your measurement tools are precise and suitable for the task at hand. Common tools include rulers, squares, and tape measures, each serving different purposes based on the required precision and scope.
Investing in high-quality tools with fine gradations can mitigate errors, as can periodically calibrating them to ensure accuracy. Over time, even the highest quality tools can become misaligned or skewed, causing misleading measurements.
Additional tips include double-checking measurements before making any cuts and employing the “measure twice, cut once” mantra. For larger projects, consider using story sticks, which can be marked with the project’s exact dimensions to transfer measurements directly to the workpiece without continuous reliance on different scales. This method promotes consistency and reduces accumulated measurement error.
Summary of Main Points
| Issue | Solution |
|---|---|
| Blotchy or Poor Finishes | Sand properly, use a pre-stain conditioner, apply evenly, layer stains if necessary. |
| Glue Residue | Wipe excess glue immediately, use painter’s tape, check and clean before finishing. |
| Forgetting about the Saw Kerf | Account for the saw kerf in measurements to ensure accurate cuts. |
| Dents in Wood | Use moisture and a hot iron to lift dents, sand any raised fibers afterward. |
| Poor Measurement Tools | Ensure tools are accurate, calibrate regularly, measure twice, consider story sticks for consistency. |
“`